Woodworking basics
Five skills carry every project on this site. Learn them once on a scrap offcut and your builds stop depending on luck.
Sections4
Start with safety, not with skills
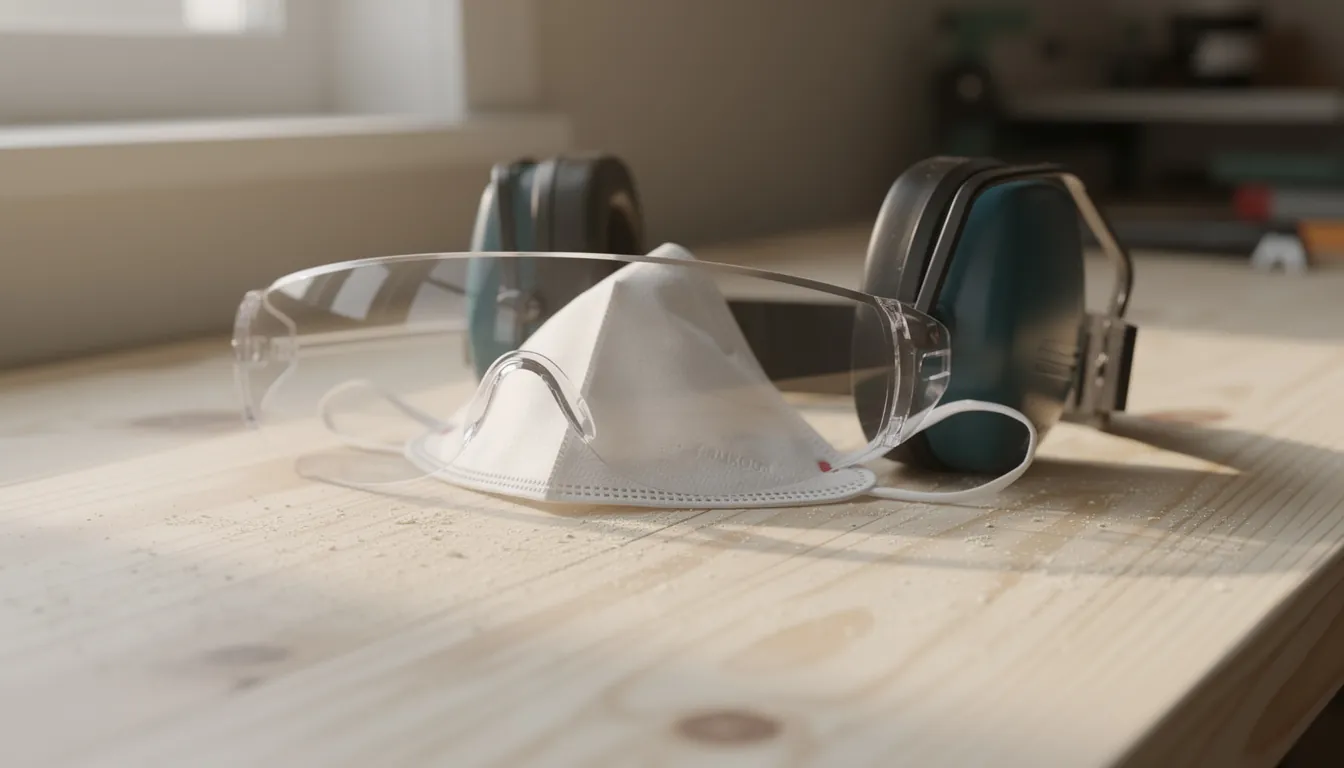
Before any of the five skills below, read the woodworking safety guidance for beginners. It covers eye protection whenever anything is cut, drilled, driven or sanded, hearing protection for power tools, a fine-particle mask for dust, clamping the work instead of holding it, and unplugging a tool before changing a blade or bit. It applies to every page in this section, and it supplements the manual that came with your own tools rather than replacing it.
The five skills every project uses
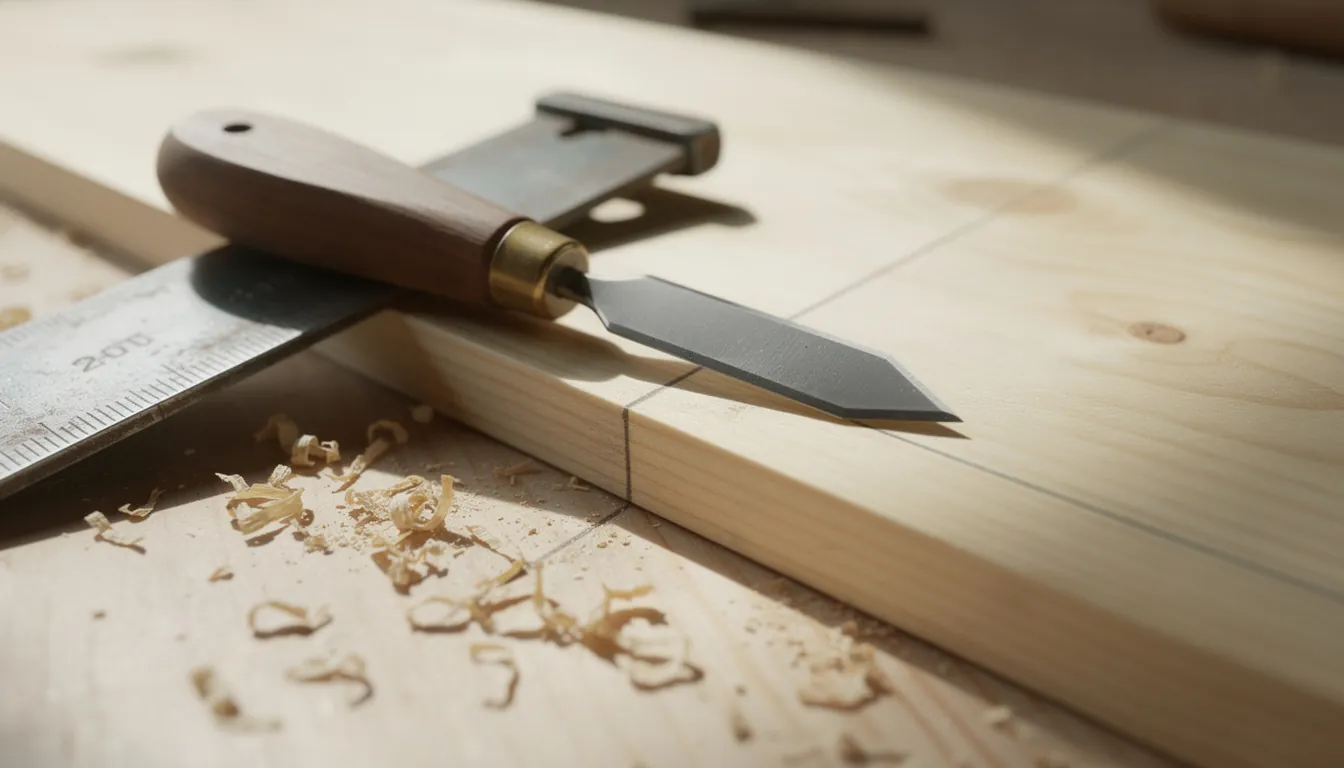
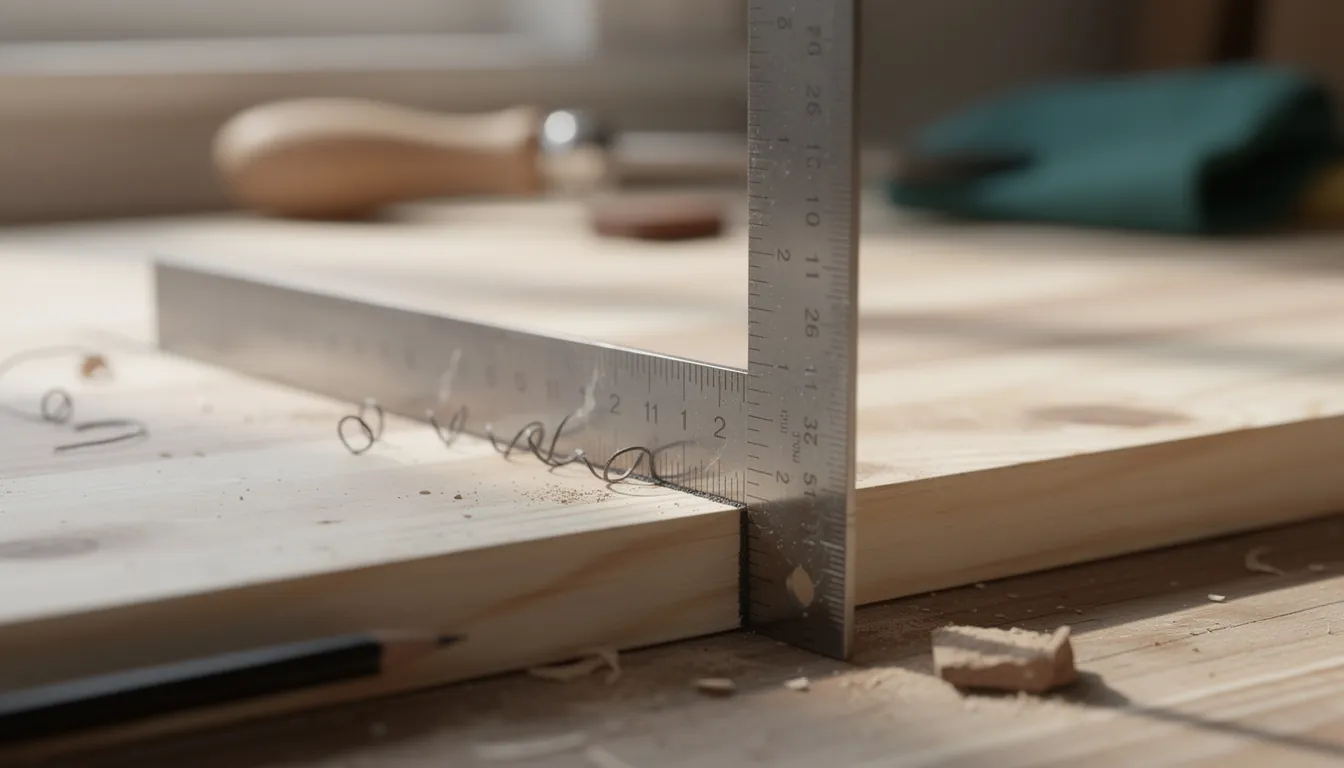
Measuring and marking. Most mistakes that look like bad cutting are bad marking. A line drawn against a square that was not pressed tight to the edge of the board is already wrong, and the saw only follows it. Learn to measure from one reference edge rather than accumulating measurements down the board, to mark with a sharp pencil or a knife rather than a blunt one, and to mark the waste side so you always know which side of the line to cut. Practise it on the phone stand, where a single length and one square line are the whole job.
Cutting to a line. A saw follows the kerf it has already started, so the first few strokes decide everything. Work clamped, blade on the waste side of the line, light pressure until the cut is established, then let the saw's own weight do the work. Check the offcut against a square rather than trusting your eye. Repeat cuts expose this skill, which is why it is worth practising before the planter box, where several pieces have to match each other.
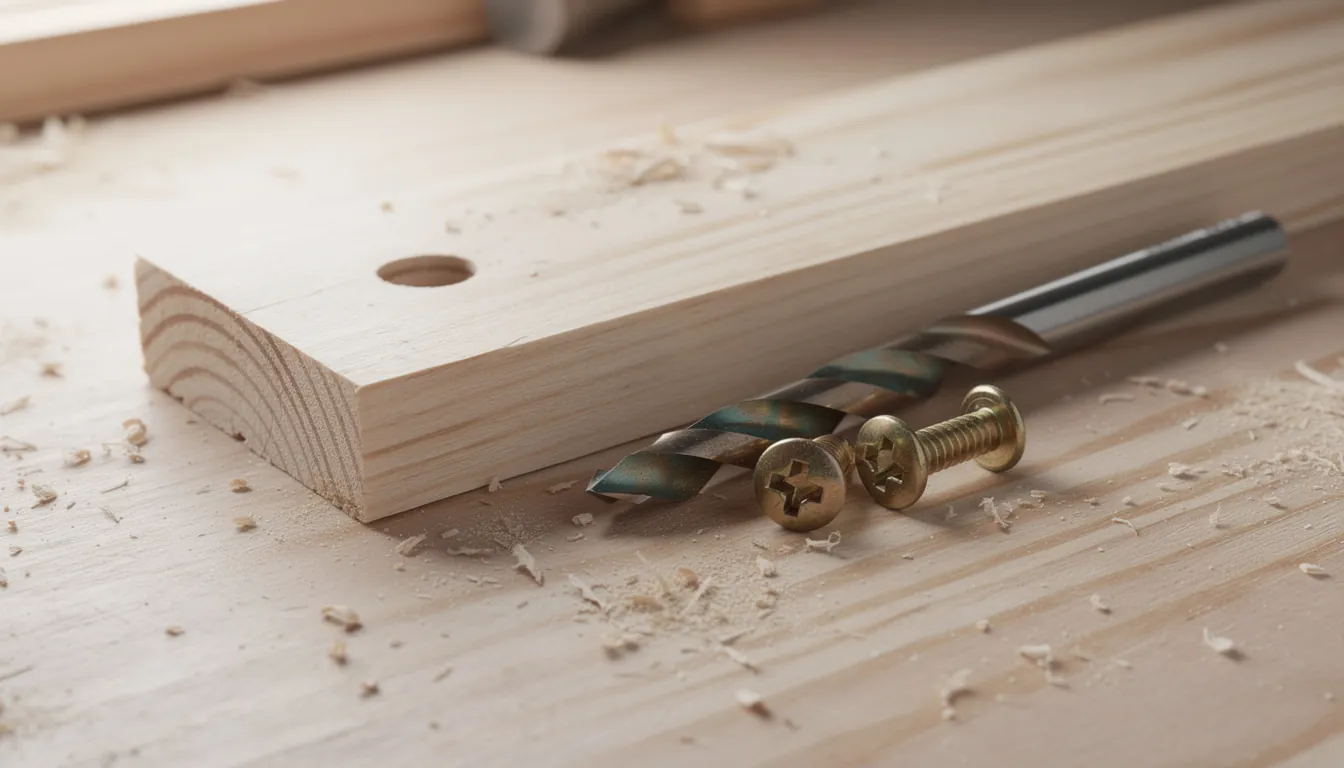
Drilling and driving. Two problems: the hole in the right place, and the hole going in straight. Mark the centre with a punch or a nail so the bit cannot wander, drill a pilot hole in hardwood and near the end of any board, back the bit out to clear shavings, and put a scrap underneath so the far side does not blow out. Stand where you can see the bit from two sides to judge square. The wall shelf leans on all of it, which is why it comes late.
Gluing and clamping square. Glue is the joint in most beginner work; screws mostly hold things while it sets. Spread a thin, even coat, clamp until the joint closes and a small bead squeezes out, then wipe that bead with a damp cloth before it hardens, because dried glue blocks stain and finish. Check the assembly for square with a combination square, or by comparing the two diagonals, and adjust before the glue grabs — you get one short window. Follow the label on your bottle for open time and clamping time. The simple box is where this becomes real.
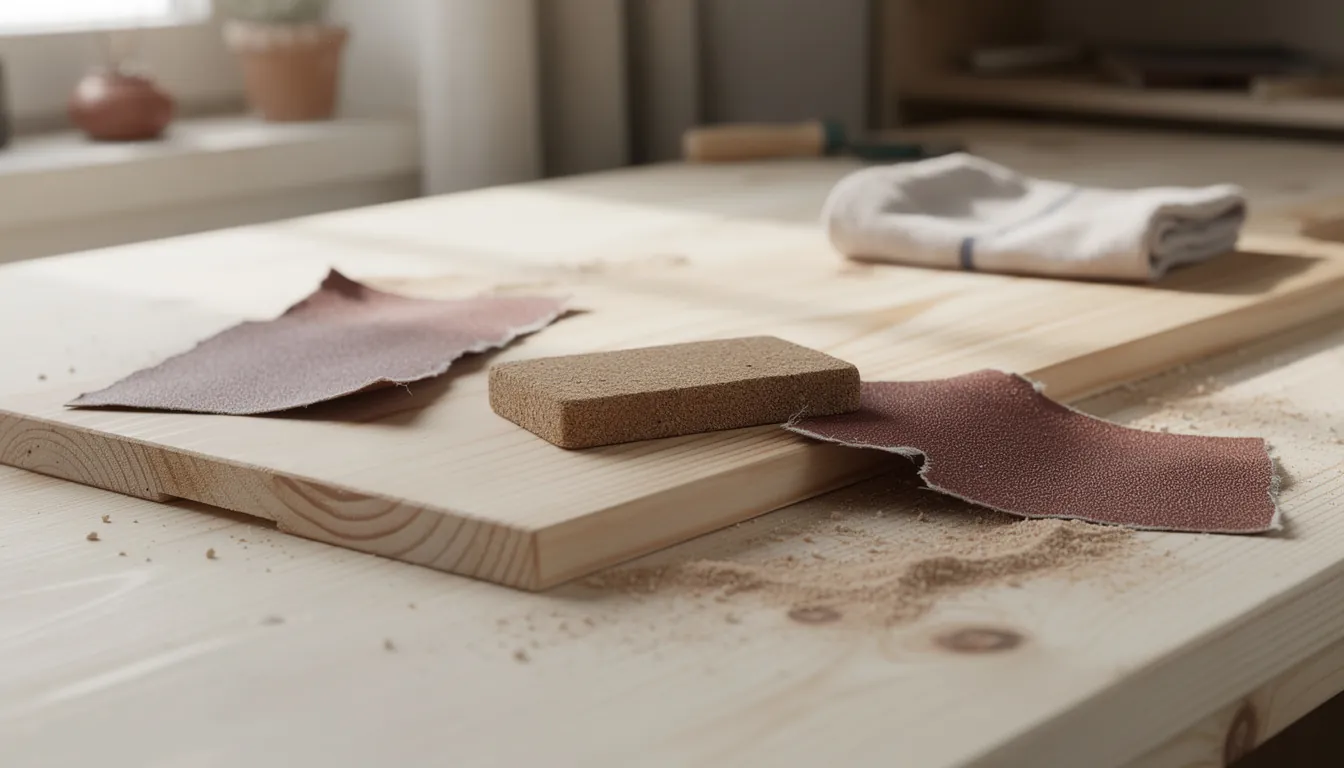
Sanding and finishing. This is where a project stops looking home-made, and it is the step most often skipped. Work up through the grits without missing one, sand with the grain rather than across it, and wipe the surface clean between grits so grit from the coarse paper does not scratch the fine work. Then apply a finish thinly, in several coats, following the label for drying times and ventilation — and spread oil-soaked rags out flat outdoors to dry, because balled-up rags can self-heat. The cutting board puts all of this together, food-safe finish included.
Practise on an offcut first
Ten minutes on scrap is cheaper than a ruined workpiece. Make the cut on an offcut first. Drill the scrap and see how the far side looks. Put the finish on an offcut of the same wood, because pine takes stain unevenly and you would rather learn that on a piece you can throw away. Keep those test pieces on the bench: they show what your tools do at their current sharpness.
Where to use them
Skills stick when they are attached to an object. Work through the beginner woodworking projects in order and each build exercises one of the five above while leaning on the ones before it. The free First 5 Projects Roadmap sets out that order on paper, with a cut-list worksheet and a tool list split into own, borrow, rent and buy later.
Core techniques
-
How to Measure and Mark Wood Accurately
The skill that decides whether your parts fit: reading a tape properly, marking a line you can cut to, and working from a reference edge instead of guessing.
- first project
-
How to Cut a Straight Line, by Hand Saw or Circular Saw
Why saw cuts wander and how to stop it: starting the kerf, clamping the work, cutting on the waste side, and the guide that makes a circular saw cut dead straight.
- first project
-
How to Drill Pilot Holes in Wood
How to drill pilot holes straight and to the right size, use countersinks and depth stops, and drive screws without splitting the board.
- beginner
-
How to Glue and Clamp Wood Square
Wood glue is stronger than the wood around it if you use it properly: thin even coats, real clamping pressure, the squeeze-out you must wipe, and checking square before it grabs.
- beginner
-
Wood Finishing for Beginners: Sanding and Finish
Wood finishing for beginners: grit order, sanding blocks, raising the grain, choosing an easy finish, and the dust and rag safety rules that matter.
- beginner
-
Food-Safe Wood Glue for Cutting Boards
Which common wood glues their makers say are FDA-compliant for indirect food contact, what that phrase means, and how to glue a cutting board so the glue line stays a thin seam.
- beginner
Safety
-
Woodworking Safety for Beginners
The safety habits to build before your first cut: protective gear, a workspace that behaves, power-tool rules, dust, finishes, and when to stop and get help.
Common questions
What are the basic woodworking skills a beginner needs?
Five, in this order: measuring and marking accurately, cutting to a line, drilling straight and where you meant to, gluing and clamping square, and sanding and finishing. Every project on this site is a different arrangement of those five, which is why learning them once pays off on everything you build afterwards.
Why do my cuts never come out square?
Usually the mark, not the cut. A line drawn against a square that was not held tight to the edge of the board is already wrong, and the saw only follows it. Mark with a knife or a sharp pencil against a combination square, cut on the waste side of the line, and check the cut against the square before you glue anything.
Is woodworking dangerous for a beginner?
Woodworking involves sharp edges, fast-moving cutters, fine dust and chemical finishes, and every one of those can injure you. It is manageable with the right habits: eye protection whenever anything is being cut or driven, hearing protection for power tools, a dust mask for sanding, work clamped rather than held, and every tool used only the way its own manual describes. Read the safety guide before your first cut.
What wood should a beginner use?
Softwood — pine, spruce or fir sold as common boards — for almost everything at first. It is inexpensive, stocked in consistent sizes, easy to cut and drill with hand tools, and forgiving of a mistake. Save hardwood for the project where the wood itself is the point, once your cuts are landing where you meant them to.
Get the free First 5 Projects Roadmap
Five projects in the order that builds confidence, a tool list split into own / borrow / rent / buy later, and a cut-list worksheet you can print and take to the timber rack.