Wood Finishing for Beginners: Sanding and Finish
As an Amazon Associate, this website earns from qualifying purchases.
Wood finishing for beginners: grit order, sanding blocks, raising the grain, choosing an easy finish, and the dust and rag safety rules that matter.
- Level
- beginner
Sections8
The stage that decides how it looks
Two people can build the same box from the same wood, and the one that looks better is almost always the one that was sanded properly. Finishing is not decoration added at the end. It is the part where the work either reads as homemade or as made, and it belongs alongside cutting and drilling in the woodworking basics.
It is also the stage with the most genuine hazards, and they are the ones beginners take least seriously. Read the safety section below before you start, not after.
Safety, non-negotiable
Dust. Fine wood dust is a respiratory hazard. The particles that matter most are the ones too small to see, and they hang in the air long after you stop. Wear a fine-particle dust mask rated for dust, sand outdoors or beside an open window where you can, and use your sander's dust bag or hook it to a vacuum. Wear eye protection: sanding throws grit, and so does blowing dust off a surface.
Cleaning up. Do not sweep dust into the air with a dry broom. Vacuum it, or wipe surfaces down with a damp cloth, and empty the vacuum or bag outside.
Finishes and solvents. Read the label on every product and follow it, every time. It tells you the ventilation the maker requires, whether skin contact needs gloves, how to store it, and how to dispose of it. That label is the authority, not this page and not a video.
Rags. Cloths soaked in oil finishes can self-heat as the oil cures, and a crumpled pile of them can start a fire on its own with no spark involved. Do not ball them up and drop them in a bin. Spread each rag out flat outdoors, weighted down, until it is completely dry and stiff, or dispose of it exactly as the maker's label states. This is the single most-ignored instruction in woodworking, and it is in the safety basics for beginners for a reason.
If any of this is hard to do where you work, such as no ventilation or nowhere safe to lay rags out, stop and sort that out before you open the tin.
Sand in the right order
Grit numbers count the abrasive particles: low numbers are coarse and cut fast, high numbers are fine and smooth. Each grit's job is to remove the scratches left by the one before it.
Start at the coarsest grit the surface actually needs. A rough saw edge or a proud joint might want 80. A pre-dressed board that only needs the mill marks taken off might start at 120. Then work up: 80, 120, 180, and 220 if you want it silky.
Never skip more than one grit. Jumping from 80 straight to 220 does not save time, because the fine paper cannot remove the deep 80-grit scratches. It just hides them until the finish goes on and makes every one of them visible.
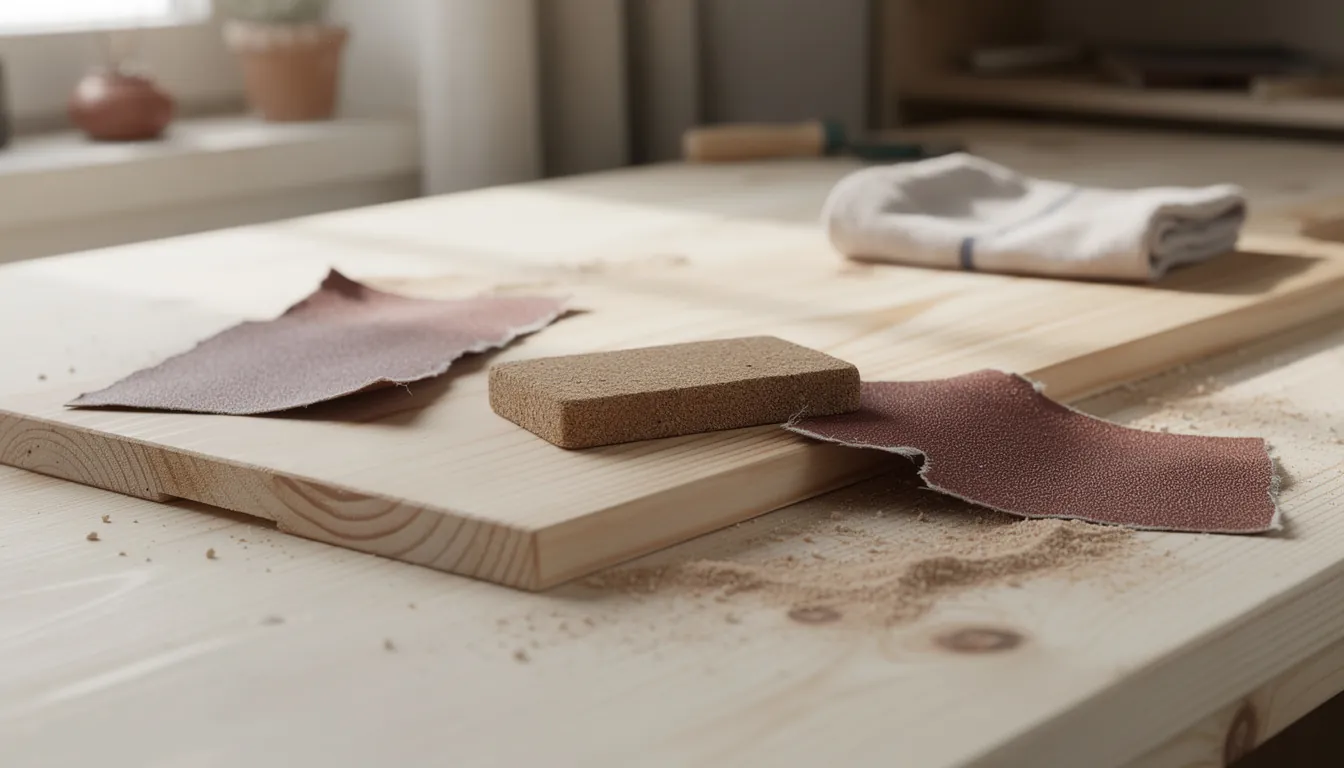
A sanding block and assorted sandpaper in a few grits is a small purchase that changes the result more than most tools.
Sand with the grain. Cross-grain scratches cut across the fibres and show up dark under any finish, and once they are in the surface they take a lot of sanding to get out. Move the block along the grain direction, not across it.
Use a block. Paper held in your fingers follows every dip in the surface and rounds over every edge and corner, which is what makes a piece look soft and vague. A cork or rubber block, or an offcut with paper wrapped round it, keeps flat things flat and edges crisp. On a large glued-up panel a random-orbit sander does the same job faster, with the dust mask and extraction above still applying.
Check your work under a raking light. Hold a lamp low and almost parallel to the surface. Scratches and glue patches that are invisible in overhead light appear immediately.
Get the glue off first
Dried glue is the most common reason a finish comes out patchy. Glue seals the wood surface, so stain and oil cannot soak in where it sits, and you get pale blotches exactly where the squeeze-out ran.
The easy fix is to wipe squeeze-out off with a damp cloth while it is still wet, right after you clamp up. If it has dried, scrape it off carefully with a chisel or card scraper held flat, or sand it out entirely, and then check under that raking light before you go anywhere near a finish.
Raise the grain before a water-based finish
Water makes cut wood fibres swell and stand up. If the first coat of a water-based finish is what wets them, your smooth surface turns furry and you have to sand between coats.
Do it deliberately instead. Wipe the surface with a damp, not wet, cloth. Let it dry completely. Sand lightly with your final grit, just enough to knock the raised fibres off. Now the fibres that were going to lift are already gone and the first coat lays down smooth. Skip this step for oil-based finishes, which do not raise grain the same way.
Soften the sharp edges
A freshly cut edge is sharp enough to be unpleasant to handle and it will not hold a finish, because the film pulls thin over a knife edge and wears through there first.
Break every edge: a few light passes with your final grit along the corner, enough to take the sharpness off without turning it into a visible round-over. Do it consistently on all edges of a piece. Inconsistent edge softening is one of those things people notice without being able to say why.
Choosing a finish
There is no best finish, only the right one for the object and for the space you are working in. This is how the beginner-friendly options compare.
| Finish | Difficulty | Look | Repairability | What it is not for |
|---|---|---|---|---|
| Oil / wipe-on oil | Easiest. Wipe on, wipe off the excess | Warm, matt, in the wood rather than on it | Very easy. Clean and re-apply to the worn patch only | Heavy water exposure or hard-wearing tabletops without upkeep |
| Wipe-on polyurethane | Easy. Thin coats with a cloth, more coats needed | Low sheen, slight film build | Moderate. Sand back the area and re-coat | Fast jobs; it wants several coats and patience |
| Brushed polyurethane | Harder. Brush marks, dust nibs and runs are easy to get | Glossier, a clear protective film | Harder. Repairs tend to show as a patch | A first project, or a dusty workspace |
| Wax | Easiest. Apply, leave as the label says, buff | Soft low sheen, very natural feel | Very easy. Just re-wax | Water resistance or any real protection |
| Paint | Moderate. Needs a primer and even coats | Opaque colour, hides the grain | Easy to touch up, hard to make invisible | Showing off nice grain; use it on cheap or patchy stock |
For a first project, a wipe-on finish is the honest recommendation. It is forgiving, there is no brush technique to learn, and mistakes wipe off. A wipe-on finish and a stack of clean cotton rags will cover most of what you build early on.
Two caveats. Anything that meets food, such as a cutting board, needs a finish the maker states is suitable for that use, and that is a decision to make from the label rather than from a general guide. And test on an offcut of the same board every time. Softwoods absorb unevenly, so the colour on your test piece is the only preview you will get.
Where to go next
Sanding and finishing are the last steps of every build, so the fastest way to practise them is to build something small. The cutting board is the project where the finish really shows, and it is the third step in the free First 5 Projects Roadmap. If you want to understand why one board sands beautifully and another fuzzes, the materials section on the tools guide explains what to look for, and the essential hand tools list covers the sanding block and the rest of the short kit.
Common questions
What grits do I actually need?
For most beginner projects in softwood, 80, 120 and 180 or 220 will cover you. Start at the coarsest grit the surface needs, not automatically at 80, and work up without skipping more than one step. Going straight from 80 to 220 leaves the deep scratches from the 80 in place and the finish will show every one of them.
Why did my stain come out blotchy in patches?
Most often dried glue. Squeeze-out seals the wood so stain cannot soak in, and it stays pale where the glue was. Wipe wet glue off with a damp cloth as you clamp, then check the whole piece under a low, raking light before finishing. Some softwoods also absorb unevenly by nature, which is why testing on an offcut matters.
Do I have to raise the grain?
Only before a water-based finish, and it is worth the ten minutes. Water swells the cut fibres so they stand up and feel rough after the first coat. Wipe the surface with a damp cloth, let it dry fully, then sand lightly with your final grit. The fibres are removed while they are standing up and the first coat goes on smooth.
How long does a finish take to dry?
Follow the label on the tin you bought. Drying and curing times depend on the specific product, how thickly you applied it, and the temperature and humidity where you are working. Two products that look identical on the shelf can behave very differently, so the maker's instructions are the only reliable answer.
Is a sander worth buying just for this?
For small work, no. A sanding block and three grits handle a phone stand or a picture frame. Once you are flattening a glued-up panel like a cutting board, a random-orbit sander saves a lot of time and gives a more even surface. Borrow one first if you can.
Get the free First 5 Projects Roadmap
Five projects in the order that builds confidence, the tool list split into own / borrow / rent / buy later, and a cut-list worksheet you can print and take to the timber rack.