Essential Hand Tools for Woodworking
As an Amazon Associate, this website earns from qualifying purchases.
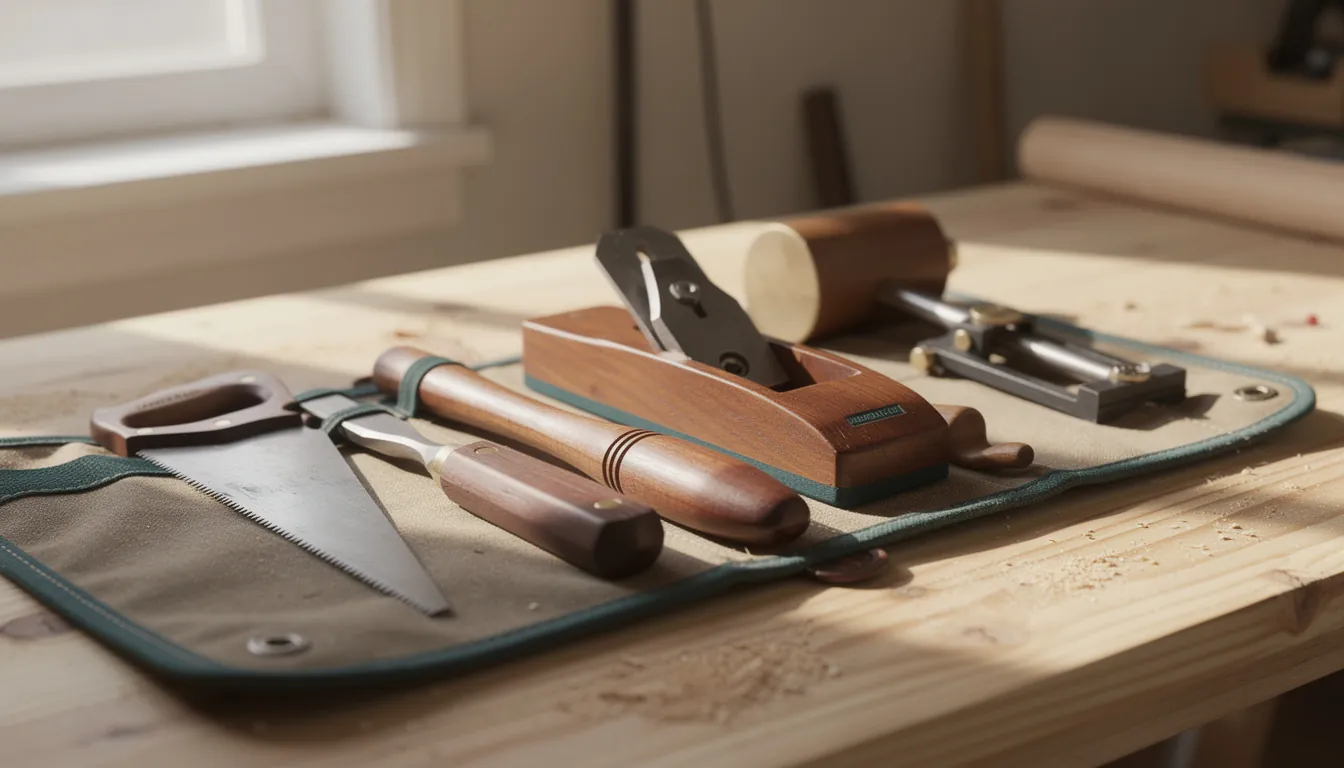
The hand tools a beginner genuinely needs, what to look for when you buy each one, the mistake each one invites, and which early projects actually use it.
- Level
- beginner
What you need
- Tape measure
- Combination square
- Pencil, and later a marking knife
- Hand saw
- Mitre box
- Two or more clamps
- Sanding block
Missing something? Check prices on Amazon
Sections7
For holding a workpiece while you cut, see our woodworking clamps guide.
Start with fewer tools than you think
Most beginners buy a big kit, use six things in it, and still cannot make a square cut. The fix is not more tools. It is a short list of good ones, used often enough to learn. Everything here earns its place on the first few builds in the beginner tool guide, and none of it needs a workshop.
Two habits matter more than any purchase: wear eye protection whenever you cut, drill, drive or sand anything, and clamp the work instead of holding it. The rest are collected in the safety basics for beginners. Anything here supplements the manual that came with your own tool; it never replaces it.
The essential list
Tape measure
What it does. Every measurement on a project starts here.
What to look for. A 5 m / 16 ft tape is plenty. You want a blade that stands out straight for a metre or so before it collapses, a clear scale, and a hook that rattles slightly on its rivets. That rattle is not a fault: it moves by exactly the thickness of the hook, so the tape reads the same whether you push it against an edge or hook it over one.
The common mistake. Reading from a bent hook, or measuring one board twice and getting two answers. Use one tape for a whole project, and see measuring and marking accurately for the burn-an-inch trick.
Combination square
What it does. Marks a line square to an edge, checks whether a cut came out square, and sets a repeatable distance in from an edge.
What to look for. A metal head that locks firmly on the rule and does not creep as you tighten it. Test one before you commit: mark a line across a board, flip the square over, and mark again from the same point. If the two lines sit on top of each other, the square is true.
The common mistake. Holding the head loosely against the board. If it is not pressed hard against the edge, the line is not square, and every cut after it inherits the error. A square and a tape get used in the same movement, so they are the pairing worth buying together.
Marking pencil and marking knife
What it does. Records the line you are about to cut to.
What to look for. A flat carpenter's pencil or a sharp 0.5 mm mechanical pencil. A marking knife comes later; it cuts a shallow groove the saw drops into, which beats any pencil line for accuracy.
The common mistake. A fat, soft line. A pencil line is about a millimetre wide. Split the difference on one cut and cut the far side on the next, and your parts stop matching. Pick a side and stay on it.
Hand saw
What it does. Crosscuts stock to length. On early projects that is almost all the cutting there is.
What to look for. A hardpoint panel saw with fine crosscut teeth, or a small back saw sized to fit a mitre box. Hardpoint teeth cannot be resharpened, so the saw stays sharp a long time and is then replaced, not serviced.
The common mistake. Forcing it. A saw cuts on its own weight over a long, relaxed stroke. Pushing hard makes the plate wander and the kerf close on it. A saw and a mitre box bought as a pair saves buying twice.
Mitre box
What it does. Guides the saw to a repeatable 90 or 45 degree cut, which is the difference between a box that closes and one that gaps.
What to look for. One you can clamp or screw down, with slots that grip the saw plate instead of letting it slop side to side.
The common mistake. Letting the box move mid-cut. Clamp it down, hold the work against the fence, and keep your fingers clear of the blade path.
Clamps
What it does. Holds work still while you cut it, and holds glued parts together while the glue sets.
What to look for. Start with two, then four. Bar or F-clamps around 600 mm / 24 in cover small work. Spring clamps are handy for holding a stop block but do not have the pressure for a glue-up.
The common mistake. Not owning enough of them and rushing a glue-up. The other is cranking them so hard the joint starves of glue. Aim for snug and evenly spaced, with a small bead of squeeze-out along the seam. Two clamps is the smallest useful start, and your first box will make you want two more.
Sanding block
What it does. Backs the paper so you flatten a surface instead of following its dips.
What to look for. A cork or rubber block, or an offcut with paper wrapped around it. Cheapest tool on this page, and the one that most changes how finished work looks.
The common mistake. Sanding with a folded sheet in your fingers, which rounds over every edge and corner. More on that in sanding and finishing.
Block plane, optional
A small block plane trims a proud edge, softens a corner and cleans up an end grain cut. It is also the first tool here that does nothing at all unless it is sharp, so treat it as a buy-it-when-something-annoys-you tool rather than a starter purchase.
Which project needs which tool
These five builds are the progression this site follows, in order. This is what each actually calls for.
| Tool | Phone stand | Simple box | Cutting board | Planter box | Wall shelf |
|---|---|---|---|---|---|
| Tape measure | Yes | Yes | Yes | Yes | Yes |
| Combination square | Yes | Yes | Yes | Yes | Yes |
| Pencil or marking knife | Yes | Yes | Yes | Yes | Yes |
| Hand saw | Yes | Yes | Yes | Yes | Yes |
| Mitre box | Yes | Yes | Helpful | Yes | Yes |
| Clamps | One | Four or more | Four or more | Two | Two |
| Sanding block | Yes | Yes | Yes | Yes | Yes |
| Drill/driver | No | No | No | Yes | Yes |
| Block plane | No | Optional | Optional | No | Optional |
Read across the drill row and the shape of the tool spend shows up. The first three builds are hand tools and glue; a power tool only becomes necessary at the planter box and the wall shelf, not at the phone stand you start with.
What can wait
- Chisels. For joints and paring, not the glued butt joints and screws the early projects use.
- A router. Loud, fast, and the tool that punishes a slip hardest. Nothing in the first five projects needs one.
- A workbench. Plywood or an old door on trestles, plus clamps, does the job. Buy clamps before you buy a bench.
- Anything whose job you cannot name. If you cannot say which cut it makes, you are buying a picture of a workshop rather than a workshop.
Sharpening, honestly
Edge tools, meaning chisels and planes, only work when they are sharp. A dull chisel is more dangerous than a sharp one, because a dull edge needs force, and force is what makes it skid off the wood and toward your hand.
Sharpening is a skill of its own. It takes stones or diamond plates, a honing guide if you want repeatable results, and enough practice that people write whole books about it. You do not have to learn it this month. Start with pre-sharpened tools, keep the edges from knocking against other steel in a drawer, and leave the question until an edge stops cutting cleanly. Then practise on scrap, rather than working it out halfway through a project.
Buying without wasting money
Buy for your next project, not for the hobby you imagine having in two years. Choose the middle of the range over the cheapest, because the cheapest square is often not square and you will not find out until it has cost you a board. On second-hand tools, check for rust in the moving parts and a kink in the saw plate. If money is tight, ask before you buy: clamps, a mitre box and a hand saw are exactly the sort of thing sitting unused in a relative's garage.
Sizes and names also differ by country. A board sold as 1x4 is nominal, not actual: dressed, it runs to roughly 19 x 89 mm, and the figure varies by supplier. The materials section on the tools guide covers what to ask for at the rack.
Where to go next
Hand tools carry you until you need to drive screws or fix something to a wall. That is where power tools for beginners picks up, and it opens with the buy, rent or borrow decision rather than a shopping list. Before that, measuring and marking is the skill that makes any of these tools worth owning. If you would rather be told what to build in what order, the free First 5 Projects Roadmap sets out the five builds with the tool list split into own, borrow, rent and buy later.
Common questions
Can I really start with hand tools only?
For the first two or three projects, yes. A phone stand and a small box are cut, glued and sanded with a saw, a square, a pencil and clamps. Hand tools are quieter, need no power outlet and suit a balcony or a shared space. You will want a drill/driver once you start joining parts with screws or fixing anything to a wall, which is where the planter box and the wall shelf go.
How much should I spend on my first set of tools?
Less than you expect, and not on a boxed set of forty pieces you cannot name. Buy the six or seven tools your next project actually calls for, from the middle of the price range rather than the bottom. Prices move with your country, brand and season, so treat any figure you read online as a starting point and check what is on the shelf near you.
Do I need chisels to start?
No. Chisels come in when you cut joints or trim glue squeeze-out flush, neither of which the first projects need. They also need sharpening, which is a skill of its own. If you do buy one, buy a single mid-width chisel rather than a set, keep it somewhere the edge will not knock against other steel, and never push it toward your hand.
Is a hand saw accurate enough for real projects?
Yes, when it is guided. A sharp saw in a mitre box gives square, repeatable crosscuts on small stock, which is most of what early projects ask for. Accuracy comes from the line you marked and the guide you used, not from the saw being expensive. A wandering cut is usually a sign you are pushing hard instead of letting the saw do the work.
Get the free First 5 Projects Roadmap
Five projects in the order that builds confidence, the tool list split into own / borrow / rent / buy later, and a cut-list worksheet you can print and take to the timber rack.