How to Make a Wooden Phone Stand
As an Amazon Associate, this website earns from qualifying purchases.
Build a wooden phone stand from one pine offcut with hand tools. Get the cut list, lean angle, case-friendly slot width, and finishing steps.
- Time
- An afternoon
- Materials cost
- One offcut of pine
- Level
- first project
- Skill it teaches
- Measuring, marking and one clean crosscut
Time and cost are bands, not quotes. What you actually pay depends on your timber prices, what your yard stocks, and which tools you already own.
What you need
Materials
- One offcut of 1x4 pine, about 400 mm (16 in) long
- Wood glue
- Sandpaper in 120, 180 and 220 grit
- Optional: a wipe-on finish
Missing something? Check prices on Amazon
Sections9
What you're making
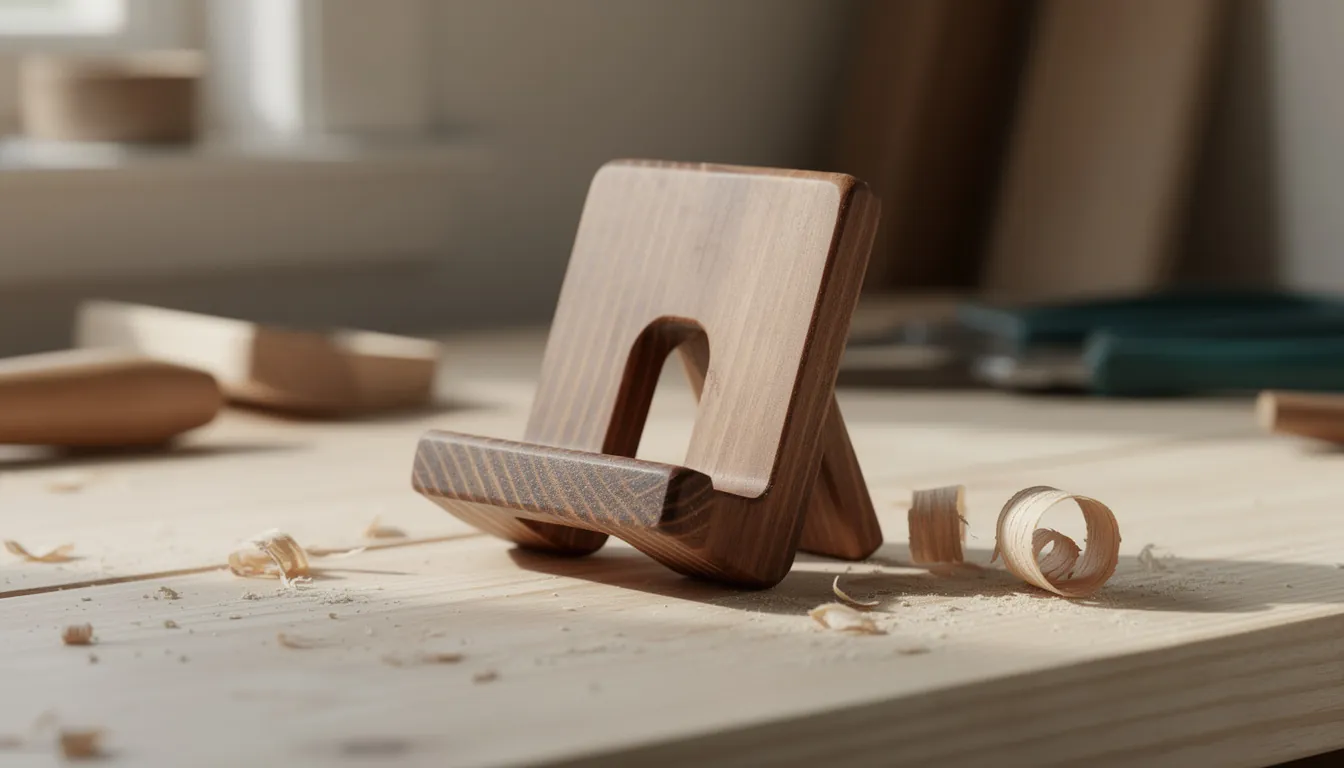
A small stand that holds your phone at a comfortable viewing angle on a desk, a kitchen bench or a bedside table. It is three short pieces of pine, cut with a hand saw and glued together. That is the entire build.
It sits first in the beginner project order for one reason. It is the cheapest way to learn the three things every later build depends on: mark a line accurately, saw to that line, and glue two pieces together without them sliding out of position. If it goes wrong, you have lost an offcut.
What it costs and how long
Cutting and gluing takes an hour or two. Most of the rest is glue drying, which needs nothing from you, so an afternoon covers it with room to spare.
Cost depends on your local timber prices and on what you already own. The wood is one short offcut of construction pine, often free from a scrap bin. If you are starting with nothing, a hand saw and mitre box plus glue and sandpaper is the whole shopping list, and every other project on this site uses that same kit.
Cut list
A 1x4 is a nominal name, not a measurement. The board is about 19 mm thick and 89 mm wide (3/4 in by 3 1/2 in), and both the names and the stock sizes differ by country. Measure your own board and work from that.
| Part | Qty | Size | Notes |
|---|---|---|---|
| Base | 1 | 1x4, 130 mm (about 5 in) long | Both ends cut square |
| Back rest | 1 | 1x4, 120 mm (about 4 3/4 in) long | One end cut at about 20 degrees off square |
| Lip | 1 | About 15 mm wide, 89 mm long | A strip ripped from the offcut, or a length of square dowel |
Find an offcut around 400 mm (16 in) long. That leaves spare for a practice cut, which you should make.
Before you start
Work on something solid at roughly waist height, with room to clamp the mitre box down so it cannot creep while you saw. Safety for this build is short and none of it is optional:
- Eye protection for every cut and every sanding pass. Sawdust and a chip off a knot both go the same place.
- Clamp the work. Never hold a piece with your fingers while you saw it, and clamp the mitre box down too.
- Keep your free hand behind the saw line, never in front of it.
- Hand sanding a small piece raises little dust, but if you sand for a long stretch, or move to a power sander later, wear a fine-particle dust mask.
- Read the label on the glue and on any finish, and do what it says.
Stop and ask for help if your offcut is too short to clamp safely, or it will not sit still in the mitre box. A piece that rocks or slides is how fingers get cut. Get a longer board, get a second clamp, or ask someone with a bench to make the cut. The general rules are set out in the beginner safety guide and they apply to every build after this one.
Building the stand
Step 1: Mark the pieces
Square a line across the board with a combination square, measure your first length from that line, then square a second line. Mark the waste side of each line with an X. Sawing on the wrong side of a line is the most common beginner error, and the X is what prevents it. If squaring and marking is new to you, the measuring and marking guide covers the habits that make every cut land where you meant it to.
Mark all three pieces before you cut anything, so you do not discover the board is 20 mm short at the end.
Step 2: Cut the base and the back rest
Clamp the mitre box down. Sit the board in it with your pencil line against the 90 degree slot, start the cut with a few gentle backward strokes to make a groove, then saw with light pressure and long strokes. Let the saw do the work rather than pushing it.
What right looks like: the cut face is flat, square to the face of the board, and your pencil line is still just visible on the piece you are keeping.
Step 3: Cut the lean angle
The back rest leans backwards so the phone rests against it instead of tipping forward. About 20 degrees off square suits a phone on a desk you look down at. Lean it further back for video, less for a phone you glance at while typing. That is a preference, not a rule.
Many plastic mitre boxes have a 22.5 degree slot, which is close enough. If yours only offers 90 and 45 degrees, mark the angle with a pencil and a straightedge, clamp the piece, and saw to the line. It is a short cut across a soft board and very forgiving.
Step 4: Make the lip and set the slot width
The lip is the small rail across the front that stops the phone sliding off. Without it the phone slowly walks forward and falls.
Measure your phone with its case on, at the thickest point. Cases add several millimetres, and a slot cut to a bare phone will not accept a cased one. Add 2 to 3 mm. That number is the gap you leave between the lip and the front face of the back rest.
To make the lip, either rip a strip about 15 mm wide off your spare offcut, clamped firmly and cut along the grain, or use a length of square dowel and skip the rip entirely.
Step 5: Dry-fit
Put everything together with no glue and stand your phone in it. Check that it does not tip forward, that the slot takes the case, and that the base does not rock. Adjust now. After glue you are sanding a mistake instead of moving it.
Step 6: Glue and clamp
The back rest meets the base end grain to face grain, which is a weaker joint than face to face. Brush a thin coat of glue onto the end grain, wait about a minute for it to soak in, then glue both surfaces properly and press them together.
Clamp lightly. You want the pieces held still, not crushed. Wipe squeeze-out off with a damp cloth straight away, because dried glue shows as a pale patch under any finish. Leave it clamped for as long as the glue bottle says.
Where beginners go wrong
The slot is too narrow. Almost everyone measures a naked phone. Measure the case.
Sawing on the line instead of beside it. A saw removes a kerf roughly a millimetre wide. Cut on the waste side every time and the piece you keep stays the length you marked.
The back rest is too upright. Close to vertical, the phone has nothing to lean on and topples out at the first knock. Give it a definite lean.
Gluing before sanding the inner faces. Once the pieces are joined, the inside of the slot is close to impossible to sand. Do those faces first, while they are flat and open.
Squeeze-out left to dry. Glue seals the wood it sits on, so finish will not soak in there and you get a pale ghost around every joint. Wipe it while it is wet.
Finishing it
Sand with the grain through 120, then 180, then 220 grit. Then go back and deliberately soften every edge that touches the phone. Two light passes with 180 grit along the top of the lip and the front of the back rest turn a sharp arris into something that will not scratch a case or a screen. That is the difference between a piece that looks homemade and one that feels finished. A sanding block and assorted sandpaper keeps the faces flat while you do it; a folded sheet held in your fingers rounds them over unevenly.
Bare sanded pine is a fine place to stop. If you want a finish, a wipe-on oil or wipe-on polyurethane is the easiest kind to apply without runs. Follow the directions on the container for coats and drying, because they differ between products. One thing is not optional: rags soaked with an oil finish can heat up on their own and catch fire. Spread them flat outdoors to dry, or dispose of them exactly as the maker says. Never leave them balled up in a bin. The sanding and finishing guide covers grit order and what each finish actually does.
Make it yours
Cut a cable notch. A shallow notch sawn in the middle of the lip lets a charging cable come in from the front.
Use a better offcut. The same three pieces in oak, walnut or an old hardwood shelf take longer to saw but sand to a much better surface. The materials section on the tools guide explains what changes when you move off softwood.
Scale it up for a tablet. Longer base and back rest, wider slot. The method is identical, though a heavier tablet wants a deeper base so it does not tip.
What to build next
Next is a simple wooden box, which uses the same saw and glue and adds the one skill this build does not teach: clamping four pieces together square. The free First 5 Projects Roadmap sets out all five builds in order if you want to see the path first, and the hand tools guide covers what is worth buying and what you can ignore.
Common questions
Can I really make a phone stand with no power tools?
Yes. Every cut in this build is a short crosscut across a 1x4, which a sharp hand saw held in a mitre box handles easily. No screws means no drill. The only cut that takes patience is the narrow strip for the lip, and you can skip that entirely by using a length of square dowel instead.
What wood should I use?
Construction pine is the sensible first choice. It is cheap, soft enough to saw by hand, and takes glue well. A hardwood offcut such as oak, maple or an old shelf will look better and sand smoother, but it is slower to cut. Avoid anything warped, split at the end, or still damp from an outdoor stack.
How wide should the slot for the phone be?
Measure your phone with its case on, then add about 2 to 3 mm of clearance. A case adds real thickness, and a slot cut to the bare phone will not take it. If you change phones often, err wider and let the phone lean rather than grip. The stand holds the phone by leaning it back, not by pinching it.
Will wood glue on its own hold the stand together?
For something this light, yes, provided you clamp the joints and leave them alone while the glue sets. The weak point is that the back rest meets the base end grain to face grain, and end grain drinks glue. Brush a thin coat on the end grain first, let it soak in for a minute, then apply glue again and clamp. Follow the times on the glue bottle.
Does a phone stand need a finish?
No. Bare sanded pine is perfectly usable, and a finish mainly stops the wood picking up marks from hands and desks. If you do apply one, keep it off the faces that touch the phone until it is fully hard, and follow the instructions on the container, including what it says about used rags.
Get the free First 5 Projects Roadmap
Five projects in the order that builds confidence, the tool list split into own / borrow / rent / buy later, and a cut-list worksheet you can print and take to the timber rack.