How to Make a Simple Wooden Box (Beginner Plans)
As an Amazon Associate, this website earns from qualifying purchases.
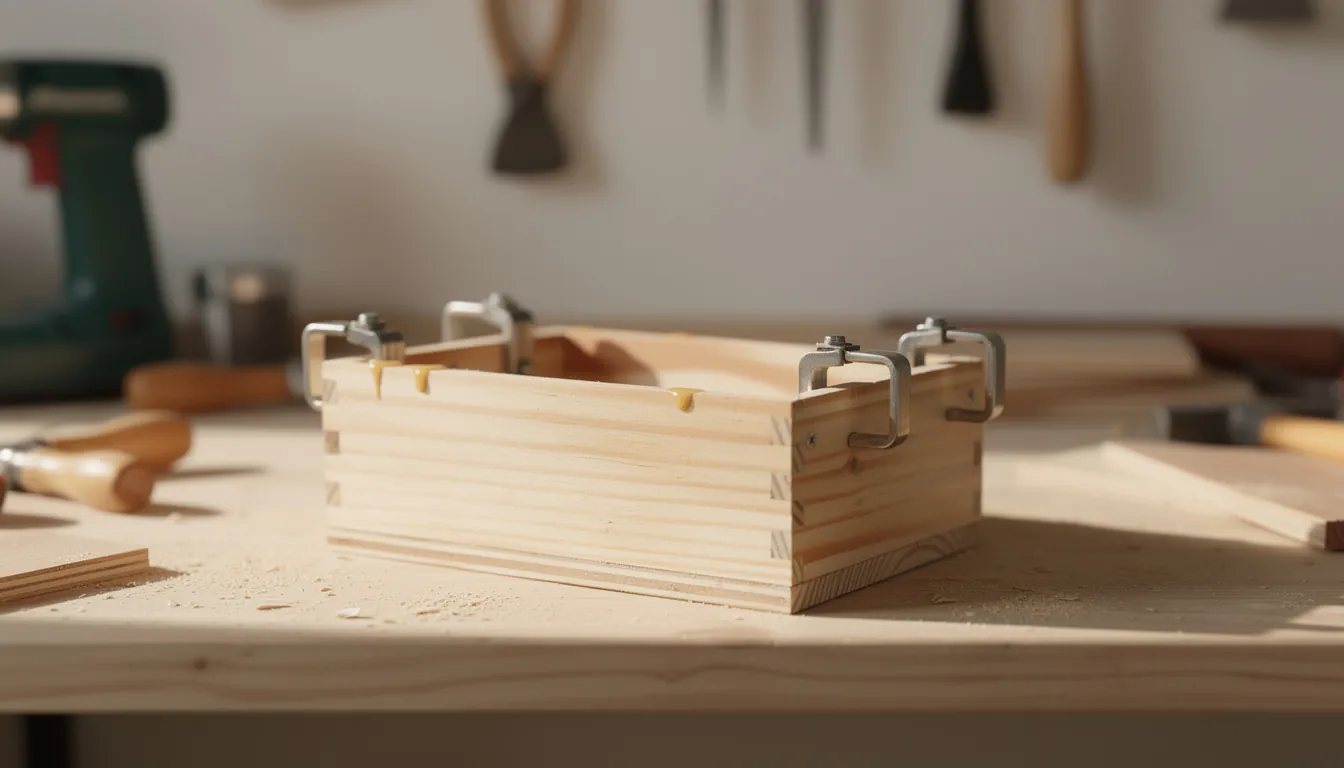
Simple wooden box plans for a beginner: a 1x4 open box with butt joints and glue. Cut list, how to clamp it square, and how to check with diagonals.
- Time
- An afternoon, plus drying time
- Materials cost
- Under $20 of pine
- Level
- first project
- Skill it teaches
- Gluing and clamping something square
Time and cost are bands, not quotes. What you actually pay depends on your timber prices, what your yard stocks, and which tools you already own.
What you need
Materials
- 1x4 pine, about 1.2 m (4 ft)
- A piece of 6 mm plywood or hardboard for the base
- Wood glue
- Sandpaper in 120, 180 and 220 grit
Missing something? Check prices on Amazon
Sections9
What you're making
A small open box, useful as a desk tray, a tool caddy, a place for keys and post, or a drawer insert. Four pieces of 1x4 pine glued at the corners, with a thin plywood base glued underneath. There is no joinery to cut and nothing has to fit inside anything else.
It is the second build in the beginner project order, and it exists to teach one thing: how to glue and clamp an assembly so it comes out square. Almost every piece of furniture you will ever make is that same problem, at a larger size and with more expensive wood. Learning it on a pine tray is cheap.
What it costs and how long
Cutting and assembly is an afternoon. Then the glue needs time undisturbed, so plan to sand and finish it the following day rather than the same evening.
Materials come to a short length of pine and a scrap of plywood. What that costs depends entirely on your local timber prices and on whether you can use offcuts, so treat any figure as a rough band. A pair of bar clamps is the one purchase this project genuinely justifies, and every later build uses them. The hand-tools guide explains what to look for before buying.
Cut list
A 1x4 is a nominal name, not a measurement. The board is about 19 mm thick and 89 mm wide (3/4 in by 3 1/2 in) once it has been dried and planed, and stock names differ from country to country. Measure your own board first and adjust the end pieces, because the length of the ends depends on the actual thickness of the sides.
| Part | Qty | Size | Notes |
|---|---|---|---|
| Sides | 2 | 1x4, 300 mm (about 12 in) long | The long walls; they cover the end grain of the ends |
| Ends | 2 | 1x4, 162 mm (about 6 3/8 in) long | Equals 200 mm minus twice your board's real thickness |
| Base | 1 | 6 mm plywood or hardboard, 300 x 200 mm | Glued to the bottom edges, not set into a groove |
That gives a box roughly 300 x 200 mm outside and 89 mm deep. Change any of it. Just keep the arithmetic honest: if your board measures 20 mm thick rather than 19 mm, the ends get 2 mm shorter.
Before you start
You need a flat surface for the glue-up. A twisted table gives you a twisted box, because the assembly will dry in whatever shape you clamp it into. A flat offcut of plywood or a kitchen worktop is fine. Cover it, since squeeze-out will find it.
Safety for this build:
- Eye protection for every cut, every sanding pass, and any hammering or driving.
- Clamp the work before you saw it. Never hold a piece with your fingers.
- If you use a drill for pilot holes, wear eye protection, keep the work clamped, and take the battery out before you change the bit.
- Wear a fine-particle dust mask when sanding, especially if you sand plywood, which produces a very fine dust.
- Read the glue label and follow it on ventilation, skin contact and clean-up.
Stop and ask for help if you need the plywood base cut and have no safe way to support a large sheet. A full sheet on the floor or across two chairs is dangerous to cut and almost impossible to cut straight. Most timber yards and home centres will cut sheet goods down for you, often for a small fee. Ask them. The general rules behind all of this are in the beginner safety guide.
Building the box
Step 1: Cut the four walls
Mark each length with a combination square, put an X on the waste side, then cut in a clamped mitre box. Square ends matter more here than on any earlier project, because a corner that is not square becomes a gap you can see from across the room. The measuring and marking guide covers marking from a single reference face, which is what stops small errors adding up across four pieces.
Cut both sides to the same length by marking the second from the first, not by measuring twice. Do the same with the two ends. Matching pairs beat accurate pairs.
Step 2: Dry-fit before any glue touches anything
Stand the four pieces up in position and hold them together with tape or light clamp pressure. Look at every corner. Sit the plywood base against the bottom and check it matches the frame. If you need help choosing that pressure, see the woodworking clamps guide.
This is the step beginners skip and then regret. Dry-fitting is where you discover an end is a millimetre long, a cut is out of square, or your clamps do not reach. All of that is easy to fix now and horrible to fix once the glue is on.
Step 3: Glue the corners
Spread a thin, even coat of glue on the end grain of each end piece. End grain absorbs glue, so brush a light coat on, give it a minute, then apply your real coat before assembling. You want a continuous film, not a thick bead. More glue does not make a stronger joint, it just makes more squeeze-out. Assemble the frame and bring the clamps on, working briskly but without panic.
Step 4: Clamp without racking it
Racking is the box leaning over into a parallelogram, and it is what clamps do when they are not square to the work. Two rules keep it under control:
- Put the clamp bar in line with the joint, not above or below it. A clamp pulling off-centre twists the joint as it tightens.
- Tighten in stages, going around the box, rather than fully tightening one clamp at a time.
Then check the diagonals. Measure corner to opposite corner, both ways. Equal diagonals means a square box. If one is longer, ease the clamps, push gently on the long diagonal, and measure again. Repeat until they match, then leave it.
Step 5: Glue the base on
Run glue along the bottom edges of the frame, lay the plywood on, and weight it down or clamp it. The base is not just a bottom. Once it is glued across all four walls, it locks the frame in the shape it is in, which is why you square the frame first and fit the base second.
If you want the extra security of mechanical fasteners, small screws or panel pins through the sides into the ends are fine. Drill a pilot hole for every screw. Pine splits easily near an end, and a split corner cannot be clamped back. The drilling and driving guide covers pilot hole sizing.
Step 6: Clean up the squeeze-out now
A bead of glue will appear along every inside corner. Wipe it off with a damp cloth while it is wet, then wipe again a few minutes later when more has appeared. Get into the inside corners with a cloth over your fingertip.
Where beginners go wrong
Not checking the diagonals. Eyes are bad at spotting three or four millimetres of racking. A tape measure is not. Check, adjust, check again.
Gluing on a surface that is not flat. The box dries in the shape you clamped it. A rocking box usually means a rocking table, not a bad cut.
Too much glue. It does not add strength and it multiplies the mess. A thin, complete film on both faces is the target.
Leaving squeeze-out to dry. This is the one that ruins the finish. Dried glue seals the fibres it soaked into, so oil or stain cannot get in, and you end up with pale patches at exactly the places the eye goes first. Sanding does not fully remove it. Wipe it wet.
Driving screws with no pilot hole. Pine splits near the ends, and a split at a corner is the end of that piece.
Finishing it
Sand the inside faces before assembly if you can, because inside corners are awkward once the box is together. After the glue is hard, sand the outside with the grain through 120, 180 and 220 grit, and soften the top edges and corners so the box feels finished rather than sharp.
Check for glue you missed by wiping the surface with a damp cloth. Damp wood darkens, and any sealed patch stays lighter. Fix it before finishing, not after.
Pine takes oil and wipe-on finishes easily. It takes stain badly, blotching in patches, so test on an offcut first if you want colour. Whatever you choose, follow the maker's instructions on the container for coats and drying. Rags used with oil finishes can heat up on their own and catch fire, so spread them flat outdoors to dry or dispose of them exactly as the label says. The sanding and finishing guide goes through the options.
Make it yours
Add a divider. One extra piece of 1x4 glued across the middle turns the tray into two compartments.
Add handles. A hole drilled near the top of each end makes it a carrying caddy.
Change the wood. The same box in a hardwood offcut looks completely different and glues the same way. The materials section on the tools guide explains what changes and what does not.
Try beveled corners on a later build. The polygon bevel angle calculator gives the edge angles for a square, hexagonal or octagonal box with upright sides.
What to build next
Next is a wooden cutting board, which takes the clamping skill you just learned, applies it to gluing boards edge to edge, and adds a food-safe finish. If you have not made the wooden phone stand, it is a shorter build that drills the same marking and sawing habits. The free First 5 Projects Roadmap lays out all five builds in order if you would rather see the whole path first.
Common questions
Are butt joints strong enough for a wooden box?
For a box holding keys, tools, post or small toys, yes. A glued butt joint plus a plywood base glued across the bottom is a surprisingly rigid structure, because the base stops the frame twisting. Where butt joints struggle is heavy loads and racking force, so if you plan to carry the box by one end when it is full, add screws or pins at the corners as well as glue.
How do I know the box is square before the glue sets?
Measure both diagonals, corner to opposite corner, with a tape. If the two numbers match, the box is square. If they do not, squeeze the longer diagonal gently until they do, then re-check. Do this within the first few minutes of clamping, while the glue still allows movement, and check again after any clamp adjustment.
Do I need clamps, or can I hold it while the glue sets?
You cannot hold it. Glued joints slide under hand pressure and the box will end up out of square. If you have no clamps, tape wrapped tightly right around the box works for something this small, and so does a loop of string tightened with a stick. Clamps are easier and you will use them in every project after this one.
Why does glue squeeze-out matter if I am going to sand it off?
Because dried glue soaks into the wood fibres around the joint and seals them. Sanding removes the bead on the surface but not the glue that has gone into the grain, so stain and oil cannot penetrate there. The result is a pale halo around every corner that only shows up once you apply the finish. Wipe it off while it is wet instead.
What size should the box be?
Start from what it has to hold, not from a number on a plan. Measure the object, add a little clearance, and work outwards. The cut list here makes a tray about 300 by 200 mm because that suits a desk or a shelf, but the method is identical at any size. Keep the height at the full width of your board and you save yourself ripping anything.
Get the free First 5 Projects Roadmap
Five projects in the order that builds confidence, the tool list split into own / borrow / rent / buy later, and a cut-list worksheet you can print and take to the timber rack.