How to Make a Floating Shelf (Beginner Guide)
As an Amazon Associate, this website earns from qualifying purchases.
Make a floating shelf that sits level and square. How to find studs, mark a level line, drill straight, and choose fixings without guessing what a wall holds.
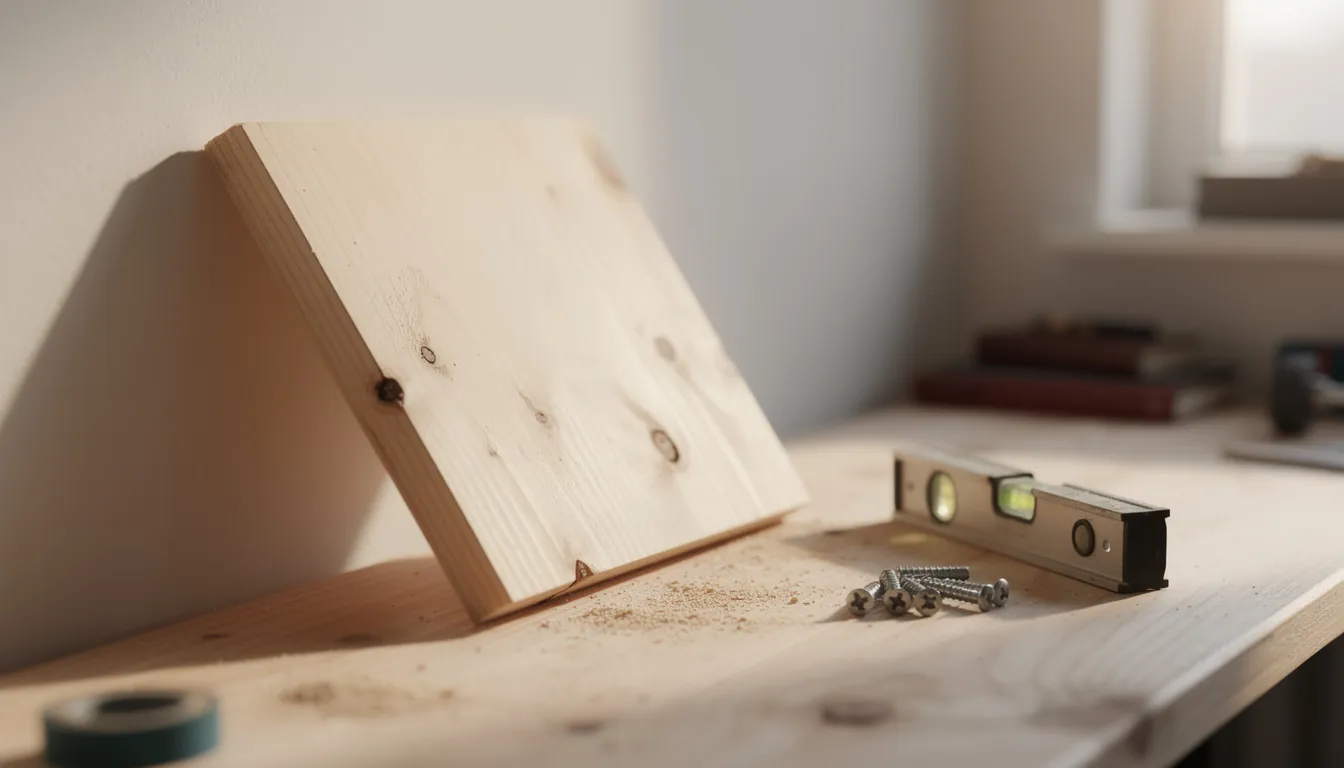
- Time
- An afternoon for the shelf, an hour to hang it
- Materials cost
- Under $40 in pine and plywood, plus fixings
- Level
- confident beginner
- Skill it teaches
- Accurate drilling and fixing into a wall
Time and cost are bands, not quotes. What you actually pay depends on your timber prices, what your yard stocks, and which tools you already own.
What you need
- Spirit level, ideally 24 in (600 mm) or longer
- Stud finder, and a cable and pipe detector
- Tape measure, square and a pencil
- Cordless drill/driver and a set of bits
- Hand saw and mitre box, or a circular saw with a guide
- Clamps
- Safety glasses, hearing protection, dust mask
Materials
- 1x2 for the front and end trim (nominal; about 19 x 38 mm actual)
- 2x2 for the wall cleat (nominal; about 38 x 38 mm actual)
- 1/2 in (about 12 mm) plywood for the top and bottom skins
- Wood glue and brad nails or fine screws
- Wall fixings chosen for your wall type
Missing something? Check prices on Amazon
Sections14
- What you're making
- Read this before anything else
- What it costs and how long
- Cut list
- Before you start
- Step 1: Find the studs
- Step 2: Mark a level line, not a measurement
- Step 3: Build the shelf box
- Step 4: Drill for the fixings
- Step 5: Fix the cleat, then hang the shelf
- Where beginners go wrong
- Finishing it
- Make it yours
- What to build next
What you're making
A shelf with no visible brackets: a hollow wooden box that slides over a timber cleat fixed to the wall. It is the fifth build in the beginner project progression, and the one where the wall matters as much as the wood.
The woodworking is straightforward - straight cuts, glue and a few nails, no harder than the planter box before it, and any leftovers go into the small scrap-wood builds. The skill being taught is everything that happens before the drill touches the wall: finding what is behind it, marking a line that is genuinely level, and drilling square to the surface instead of slightly uphill.
Read this before anything else
What a shelf can carry depends on your wall, your fixing and your installation. This page will not tell you a shelf holds a certain weight or that an anchor "will hold" anything, because that claim cannot be made about a wall nobody has seen. Fixing into a stud or joist is the reliable route. Where there is no stud, hollow-wall anchors are rated by their own manufacturer for a specific wall material and thickness, and those stated limits are the only numbers to work from. Follow them, and leave margin.
Check for electrical cables and water pipes before you drill into any wall. Cables often run vertically above and below sockets and switches, and horizontally near them, but not always. Use a detector rated for both cables and pipes, scan wider than the area you plan to drill, and scan again after you mark. If the detector reads anything, if you cannot identify the wall material, or if you are unsure at any stage, stop and get qualified help. Nothing here covers electrical or structural work, and no shelf is worth guessing about.
What it costs and how long
The shelf itself is an afternoon in pine and plywood, plus finishing time. Hanging it takes about an hour if the marking goes well and considerably longer if it does not, because every correction on a wall means new holes.
Cost depends on your timber prices and, more than people expect, on the fixings: a packet of the right anchors for your wall can cost as much as the wood. Buy what the wall needs rather than what is already in the drawer.
Cut list
Nominal lumber names are not actual sizes. A "1x2" is roughly 19 x 38 mm once dried and planed, and a "2x2" is closer to 38 x 38 mm. Names and stock sizes vary by country, so measure the real boards first. Every dimension below is a starting point: set the length to span the studs you actually find.
| Part | Qty | Size | Notes |
|---|---|---|---|
| Wall cleat, back rail | 1 | 2x2 at shelf length minus about 1-1/2 in (38 mm) | Must reach at least two fixing points |
| Cleat arms | 2-3 | 2x2 at shelf depth minus about 1-1/2 in (38 mm) | Screwed to the back rail, spaced to match studs |
| Top and bottom skins | 2 | 1/2 in (12 mm) plywood, 30 x 7 in (762 x 178 mm) | Cut both from one sheet so they match |
| Front trim | 1 | 1x2 at 30 in (762 mm) | Covers the plywood edges |
| End trim | 2 | 1x2, cut to fit after assembly | Cut last, to the box you built |
Cut the cleat and skins first, dry-fit the box over the cleat, then cut the trim to what you actually have.
Before you start
Clamp everything you cut. Wear eye protection whenever you cut, drill, drive or sand, hearing protection for power tools, and a fine-particle dust mask for sanding. Guards stay on, never defeat a safety switch, and remove the battery before changing a bit or clearing a jam. No gloves and no loose sleeves near a spinning bit. This supplements the manual for your own tool, and that manual wins; the wider checklist is on woodworking safety for beginners, and the beginner power tool path covers what a drill needs to do here.
Stop and ask for help if: your detector reads something in the drilling zone, you cannot tell what the wall is made of, the wall is an old one whose history you do not know, or the shelf is going somewhere a failure would matter - above a bed, a cot, a desk where someone sits. Those are moments to bring in a qualified tradesperson, not moments to try a bigger anchor.
Step 1: Find the studs
Run a stud finder across the wall, mark each edge you detect, then find the centre between those marks. See whether the spacing repeats; a consistent spacing is a good sign the readings are real. Spacing varies between houses and countries, so measure yours rather than assuming a standard, and confirm with a second reading from the other direction before you trust a mark. A stud finder pays for itself the first time it stops you drilling in the wrong place.
Step 2: Mark a level line, not a measurement
Do not measure down from the ceiling. Ceilings are rarely level, and a shelf parallel to a wonky ceiling looks wrong in a way people notice without knowing why.
Instead, mark one point at the height you want. Hold a spirit level against it, level the bubble, and draw a light pencil line the full length of the shelf. Check it again from the other end with the level flipped, in case the level itself is off. That line is your reference from here on. Marking accurately is covered in measuring and marking for beginners.
Step 3: Build the shelf box
Screw the cleat arms to the back rail so they stick out like a comb, spacing them to land on your stud marks. Check each joint with a square.
Now build the box around the cleat frame without gluing anything to it. Lay the bottom skin down, set the cleat frame on it as a spacer, run the front and end trim around the outside, then glue the top skin on. Clamp it and let the glue cure for as long as the bottle says.
What "right" looks like: the finished box slides onto the cleat with light hand pressure and no rocking. If it binds, sand the inside faces rather than forcing it.
Step 4: Drill for the fixings
Hold the cleat on your level line and mark through it at each stud. Scan those exact marks with the cable and pipe detector one more time.
Drill square to the wall. A hole that wanders up or down makes the fixing sit at an angle and the shelf sit proud at one end. Clamp a small scrap block beside the mark as a visual reference for square, or have someone sight you from the side. Drill the size the fixing's instructions specify, never a size that feels right and never larger to make the plug go in easily; an oversized hole is a common reason an anchor never performs as its maker intended. Holding a drill straight is covered in drilling and driving.
Step 5: Fix the cleat, then hang the shelf
Fit the fixings following their own instructions, including any tightening guidance. Level the cleat one final time before the last fixing goes fully home; that is your last chance to adjust.
Slide the box over the cleat and fix it with two or three small screws driven up through the underside into the cleat arms, where nobody will see them. Load it gradually, heaviest items closest to the wall where the leverage on the fixings is lowest. If anything moves, take it off and find out why before you reload it.
Where beginners go wrong
- Drilling before scanning. The detector takes a minute. Hitting a cable is a different category of problem from any woodworking mistake.
- Measuring from the ceiling. Ceilings slope. Use a level line, always.
- Assuming the anchor is fine. People buy anchors by look and price, then load the shelf by feel. The fixing's own stated limits and wall types are the only guide, and they assume correct installation.
- Making the shelf deeper than the cleat can support. Depth multiplies the leverage on the same fixings. Keep the shelf shallow, the cleat long, and heavy things at the back.
- Building the box too tight. A box that has to be hammered onto the cleat will split at a corner. Fit it dry first.
Finishing it
Sand and finish the shelf before you hang it. Reaching the underside of a mounted shelf with sandpaper is miserable, and finishing it in place drips on the wall.
Work 120 then 180 grit on the plywood faces and break every edge. Plywood edges drink finish, which is partly why the trim is there. Then use whatever suits the room: a wipe-on oil, a clear film finish, or paint. Read and follow the label on whatever you use, including its storage and disposal instructions and the warning that rags soaked in an oil finish can self-heat. Spread them flat outdoors to dry or dispose of them exactly as the maker instructs, and never leave them balled up in a bin.
If you want the beginner sequence in order rather than one project at a time, the free First 5 Projects Roadmap sets out these five builds with the tools each one needs.
Make it yours
- Use visible brackets instead. A bracketed shelf is easier to hang, easier to adjust and easier to inspect. Choose the floating version for looks in a light-duty spot; choose brackets when the shelf has a real job or when this is your first wall fixing.
- Make it shorter. A short shelf landing on two studs beats a long one hanging on hollow-wall anchors most of the time.
- Check the sag before you choose the board. The shelf sag calculator shows how far a shelf of a given wood, thickness and length will bend under a load. It does not tell you what the wall fixing will hold.
- Change the front trim. A thicker front edge reads as a solid slab, a thinner one looks lighter. Neither changes what the wall will hold.
What to build next
After a wall fixing, going back to precise, small work is a good reset. Move on to making a picture frame, where the build turns on four cuts at the same angle.
Common questions
How much weight can a floating shelf hold?
Nobody can answer that from a web page, and you should distrust anyone who tries. What a shelf carries depends on your wall type, the fixing you use, how well it is installed, the shelf itself, and where the load sits on it. The only figures that mean anything are the ones printed by the manufacturer of the fixing you actually bought, for the wall material you actually have. Read them, work well inside them, and if the load matters, ask a qualified person.
Do I have to fix into a stud?
Fixing into a stud or joist is the reliable route, because you are anchoring into solid timber rather than into a thin sheet of plasterboard. When a stud is not where you need it, hollow-wall anchors exist for that job, and each type is rated by its own manufacturer for a specific wall material and thickness. Follow those stated limits. Do not substitute one anchor for another because it looks similar or came in the same box.
How do I check for cables and pipes before drilling?
Use a detector rated for both electrical cables and water pipes, and scan wider than the area you plan to drill. Cables often run vertically above or below sockets and switches and horizontally near them, but not always, so scan the whole area and scan again after you mark your holes. If the detector reads something, if the wall is unfamiliar, or if you are unsure at any point, stop and get a qualified person in. This guide never covers electrical or structural work.
Is a floating shelf harder than a shelf on brackets?
Yes, meaningfully harder. A bracketed shelf forgives a lot: you fix the brackets, you check them level, you drop a board on top, and a small error is adjustable. A floating shelf hides its support, so the cleat has to be level and square before the shelf goes on and there is nothing to nudge afterwards. If this is your first time drilling into a wall, visible brackets are the honest choice and no less useful.
What if my wall is masonry or concrete rather than plasterboard?
Different wall, different fixings, different drill setting, and often a masonry bit and a hammer function. The marking and levelling in this guide still apply, but the anchor selection does not transfer. Identify your wall material first, then buy fixings sold for that material and follow their instructions. If you cannot identify the wall with confidence, that is the point to ask someone who can rather than to test it with a drill.
Get the free First 5 Projects Roadmap
Five projects in the order that builds confidence, the tool list split into own / borrow / rent / buy later, and a cut-list worksheet you can print and take to the timber rack.