How to Make a Picture Frame (Beginner Guide)
As an Amazon Associate, this website earns from qualifying purchases.
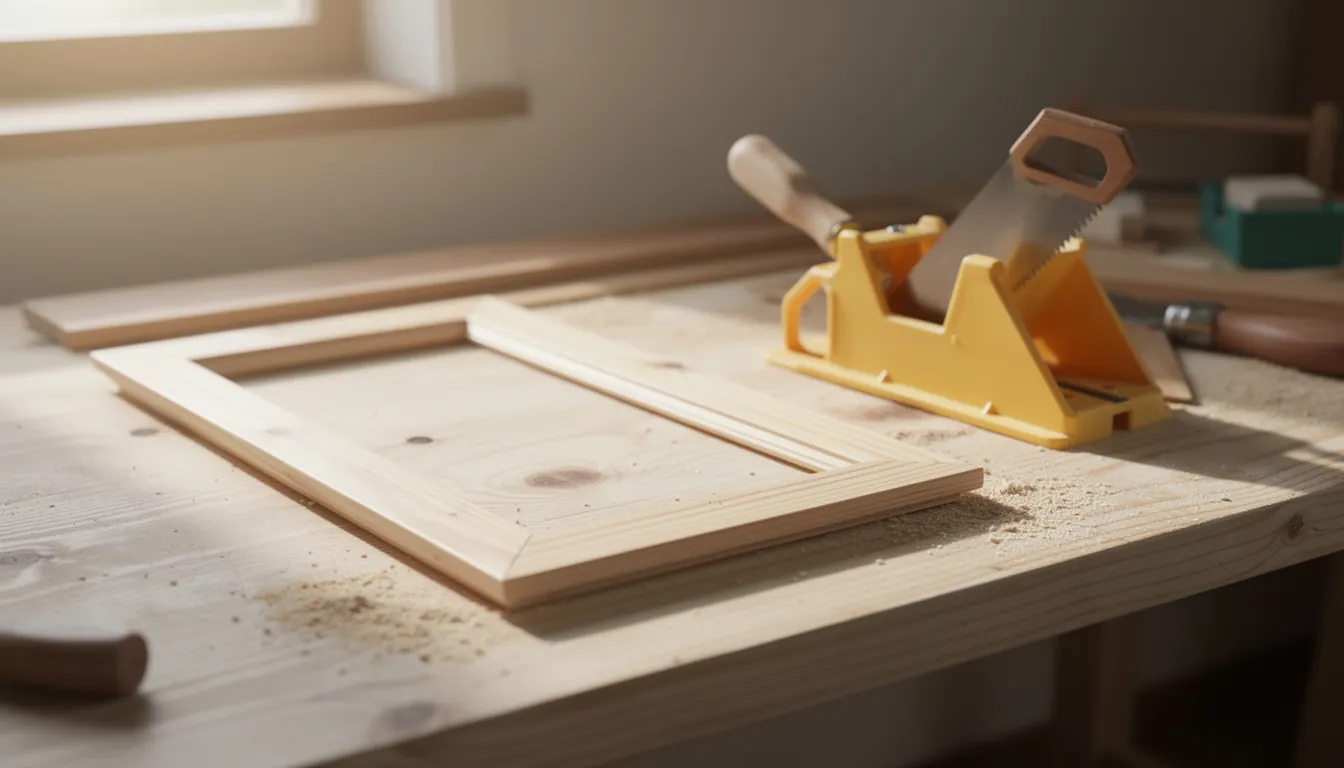
How to make a picture frame with a mitre box, a story stick and a tape clamp, plus an honest butt-joint alternative if precise mitres beat you.
- Time
- An afternoon, plus glue drying
- Materials cost
- Under $20 plus glass and backing
- Level
- confident beginner
- Skill it teaches
- Accurate mitres and clamping a closed frame
Time and cost are bands, not quotes. What you actually pay depends on your timber prices, what your yard stocks, and which tools you already own.
What you need
- Hand saw
- Mitre box
- Combination square
- Pencil
- A scrap of wood for a story stick
- Masking tape, or a band clamp
- Sanding block and sandpaper
- Safety glasses
Materials
- 1x2 pine or hardwood, or rebated picture frame moulding
- 6 mm plywood strips, if you are making your own rebate
- Wood glue
- Glass or acrylic and a backing board, cut to size
- Frame points or turn buttons, and a hanger
Missing something? Check prices on Amazon
Sections10
What you're making
A picture frame, made from four lengths of timber with mitred corners, holding glass, a photo or print, and a backing board. It is the last of the small indoor beginner projects and it is deliberately near the end.
The honest version, before you buy anything: precise mitres are the hardest thing on this site for a beginner. A frame has eight angled cuts, every one has to be right, and the errors do not cancel out. They collect and arrive together in the final corner as a gap you cannot unsee. Nothing here is heavy or expensive. It is simply unforgiving, which is a different kind of difficulty from anything in the earlier projects.
The easier alternative, offered up front
If mitres go badly, or you would rather not fight them, there is a frame style that uses only square cuts and looks like a decision rather than a retreat.
Let the two vertical pieces run the full height of the frame and fit the two horizontals between them. The end grain is hidden and the verticals read as clean uprights. Or let all four pieces run long so they cross and project past the corners, the way a rustic frame does. Both are established looks, neither is a failed mitre, and a contrasting wood or a chamfer on the projecting ends makes it read as deliberate.
Everything else here, including the rebate, the story stick, the glue-up and the fitting, applies to the square-cut version too.
What it costs and how long
An afternoon of cutting and fitting, then glue drying time before the picture goes in. Rushing the fitting is how people crack glass.
The timber is cheap: a length of 1x2 pine is enough for a small frame. Glass and backing are the variable, and they depend on the size you choose and on your local glazier. Standard photo and print sizes cost far less than custom ones, so pick a standard size if you can. If you own no saw yet, a hand saw and mitre box is what this project depends on, and every other build here uses the same kit.
Cut list
Work these lengths out from your glass, not from a plan. A 1x2 is nominal; the board is about 19 mm thick and 38 mm wide (3/4 in by 1 1/2 in), and stock names and sizes vary by country, so measure what you buy.
The rebate opening is the glass size plus about 2 mm each way, so the glass drops in without being forced. The visible opening at the front is the rebate opening minus twice the rebate width, and that visible opening is also the short-edge length of each mitred piece.
| Part | Qty | Size | Notes |
|---|---|---|---|
| Frame sides | 2 | 1x2, short edge equals the visible opening height | Both ends mitred at 45 degrees |
| Frame top and bottom | 2 | 1x2, short edge equals the visible opening width | Both ends mitred at 45 degrees |
| Rebate strips | 4 | 6 mm plywood, 19 mm wide | Butt-jointed, glued to the back, flush with the outer edge |
| Glass or acrylic | 1 | Cut to size by a supplier | Buy this before you cut any wood |
| Backing board | 1 | Same size as the glass | Card, hardboard or thin plywood |
Rebated picture frame moulding already has the step cut into it and skips the plywood strips. If you can buy it, do, and measure its rebate directly rather than calculating one.
Before you start
Clamp the mitre box down to a solid surface. A mitre box that shifts by a degree gives a cut that is out by a degree, and this is the project where that shows.
Safety for this build:
- Eye protection for every cut and every sanding pass, and a fine-particle dust mask if you sand for any length of time.
- Clamp the work. Short offcuts are what people hold with their fingers, and short offcuts are what this project produces.
- Handling glass is the one place gloves make sense. Keep gloves well away from any rotating cutter, where they are a hazard rather than a help.
- Read and follow the label on the glue and any finish.
Stop and ask for help if you need glass cut. Have it done by a glazier or a framing shop, buy acrylic cut to size, or take the glass and backing from an inexpensive ready-made frame in a standard size. Cutting glass carries a real injury risk and is not worth teaching yourself for one frame. The wider rules are in the beginner safety guide.
Building the frame
Step 1: Make a story stick
Take a scrap of straight timber longer than your longest frame piece and mark the visible opening width and height on it, clearly labelled. That scrap is your story stick, and it replaces the tape measure for the rest of the build.
Marking every piece from one physical stick, instead of re-reading a tape four times, removes the biggest source of error in the project. Tapes get read a millimetre out, hooks bend, and the number in your head drifts. A pencil mark transferred from a stick does not. The measuring and marking guide covers the same principle elsewhere.
Step 2: Cut the mitres
Cut one end of a piece at 45 degrees. Transfer the story stick mark so it lands on the short edge of the piece, the inside edge of the frame, then cut the second mitre in the opposite direction. Two mitres running the same way is the classic mistake, so picture the piece in the frame before every cut.
For a hexagon or octagon frame, use the polygon miter angle calculator to find the angle for each end and the long-point and short-point widths.
Cut the second piece of that pair immediately, using the first as the pattern. Pairs that match each other matter more than pairs that match a number. What right looks like: flat cut faces, a consistent angle, two pieces indistinguishable when stacked.
Step 3: Fit the corners
Hold two pieces together and look at the joint against the light. If it gapes at the inside or the outside, the angle is slightly off.
Fix it with a sanding board: tape 120 grit sandpaper flat onto a scrap of plywood, then rub the mitre face on it with the piece held square. That shaves the joint in tiny amounts and keeps the face flat, which sanding by hand does not. One face at a time, checking as you go. It is the step that decides how the frame looks.
Step 4: Glue and clamp
Lay all four pieces face down in a row, mitres touching, in the order they go around the frame. Run masking tape tightly across each of the three joints between them. Turn the row over, put glue on every mitre face, roll the row up into a frame, and tape the fourth corner.
That tape clamp pulls all four joints closed at once and is enough at this size. A band clamp does the same job more evenly. Check the frame is square by measuring both diagonals and adjusting until they match, then leave it flat until the glue has fully set. Wipe squeeze-out off while it is wet, because dried glue seals the wood and shows as a pale patch under any finish.
Mitres are end-grain joints and end grain drinks glue, so a light first coat, a minute's wait, then a proper coat gives a better result. For more strength, add a small nail through each corner, or a saw slot cut across the corner and filled with a thin wood spline.
Step 5: Add the rebate and fit the picture
If you are making your own rebate, glue the four plywood strips to the back of the frame, flush with the outer edges, so they leave an even step all the way round.
Sand and finish the frame before anything goes in it. Then lay in the glass, the picture and the backing board, hold the stack with frame points, turn buttons or small tacks, and add the hanger. Force nothing: if the glass will not drop in, take material off the rebate.
Where beginners go wrong
Building the frame first and hunting for glass afterwards. Custom glass costs more and takes longer. Get the glass, then build to it.
Re-measuring each piece with a tape. Four readings means four chances to be a millimetre out.
Cutting both ends of a piece the same way. You get a parallelogram, not a frame.
Trusting the mitre box without testing it. Cut two scraps, put them together and check the corner with a square before you cut anything you care about.
Forcing glass into a tight rebate. Glass does not compress. Take material off the wood.
Finishing it
Sand through 120, 180 and 220 grit before assembly, while you can still lay each face flat, and soften the outer edges. Sand the visible opening edges carefully, because they are what the eye follows.
A wipe-on oil or wipe-on polyurethane is easiest to apply without runs, and paint suits softwood frames well because pine takes stain unevenly. Follow the maker's directions on the container rather than any general rule. Rags used with oil finishes can heat up on their own and catch fire, so spread them flat outdoors to dry or dispose of them exactly as the label says. The sanding and finishing guide covers the choices, and the materials section on the tools guide explains which timbers take a finish well.
Make it yours
Use a deeper moulding for a shadow box. More rebate depth turns the frame into a case for a medal, a badge or a pressed flower.
Float a print. Mount it on a backing board smaller than the glass so it appears to sit inside the frame rather than under it.
Make a set. Three frames in the same timber at different sizes look far better on a wall than one, and by the third your mitres will be visibly better.
What to build next
For straight cuts and an edge glue-up, try making a cutting board. Its flat panel lets you practise fitting joints before you tackle more mitres.
Next is a floating wall shelf, which swaps precision cutting for drilling accurately and fixing into a wall. The free First 5 Projects Roadmap sets out the five core builds in order, and the hand tools guide covers what is worth owning by the time you are cutting mitres.
Common questions
Why are mitred corners so hard to get right?
A four-corner frame has eight mitre cuts, and each one has to be an accurate half of the corner angle. Small errors do not cancel out, they add up, and they all arrive at once in the last corner as a visible gap. It is not a strength problem or a size problem, only an accuracy problem, which is why frames are a good test of your marking and cutting rather than a good first build.
Can I make a picture frame without cutting mitres?
Yes, and it can look intentional. Cut all four pieces square and let the two long pieces run the full height of the frame, with the short pieces fitted between them. Or let all four run long so the ends cross and stick out at the corners. Both are recognisable frame styles rather than a failed mitre, and both are far easier to cut accurately.
Should I make the glass myself?
No. Have glass cut to size by a glazier or a framing shop, buy acrylic sheet cut to size, or take the glass and backing out of an inexpensive ready-made frame in a standard size. Cutting glass safely takes instruction and practice, and a mistake produces sharp edges and shards. It is the one part of this project worth handing to someone else.
How much should the frame overlap the picture?
Enough that the picture cannot slip out of view, usually a few millimetres on every side. Work from the glass size: the rebate opening should be about 2 mm bigger than the glass so it drops in without being forced, and the visible opening at the front is smaller than the glass by the width of the rebate on each side. Buy or cut the glass first, then build the frame to it.
What glue and clamps do I need for a frame?
Ordinary wood glue is fine, because the joints are decorative rather than load bearing. For clamping, a band clamp pulls all four corners in at once and is the easiest option. If you do not have one, lay the four pieces face down in a row, tape across each joint, roll the row up into a frame and tape the last corner. That tape clamp works well at this size.
Get the free First 5 Projects Roadmap
Five projects in the order that builds confidence, the tool list split into own / borrow / rent / buy later, and a cut-list worksheet you can print and take to the timber rack.