Scrap Wood Projects for Beginners: 8 Small Builds
As an Amazon Associate, this website earns from qualifying purchases.
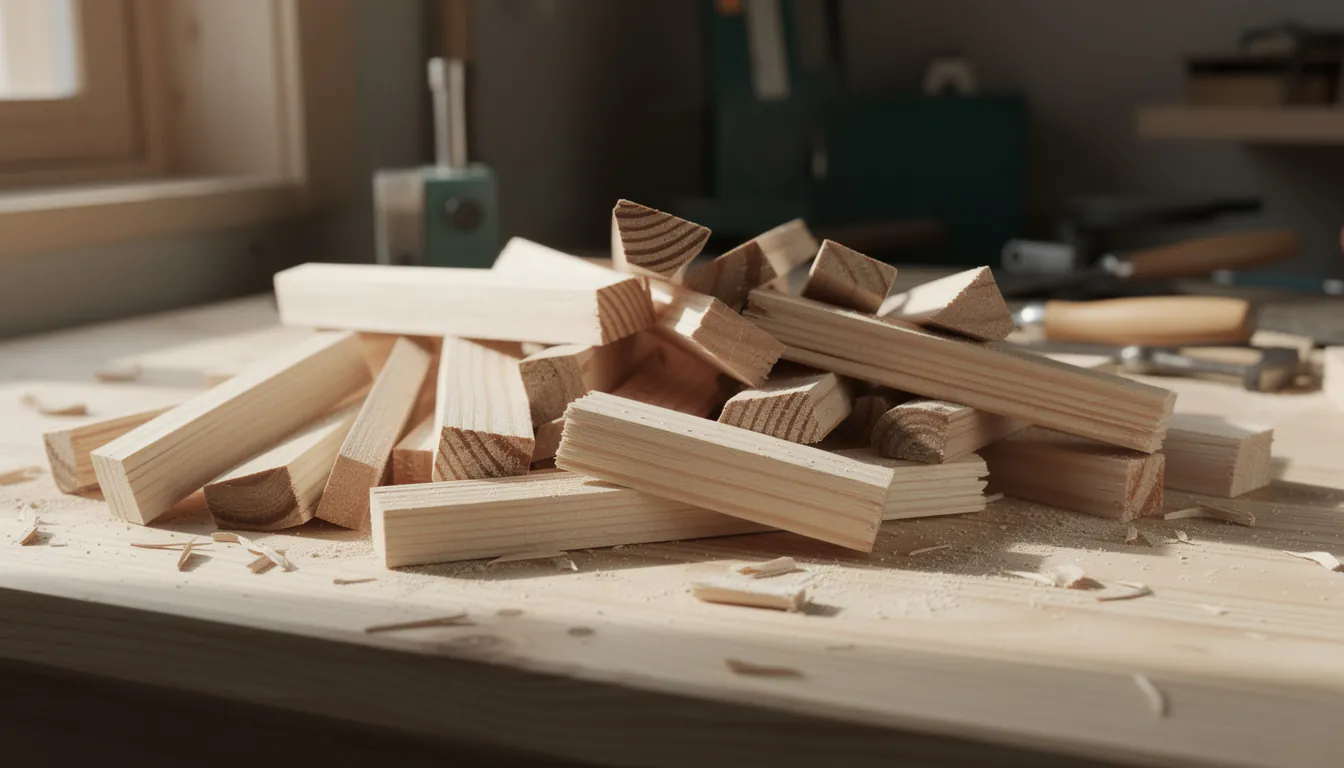
Eight small woodworking projects that use up offcuts, with the size of scrap each one needs, the skill it teaches, and how to check scrap wood is safe to cut.
- Time
- An hour or two each
- Materials cost
- Often free, if you already have the offcuts
- Level
- beginner
- Skill it teaches
- Getting clean results from imperfect stock
Time and cost are bands, not quotes. What you actually pay depends on your timber prices, what your yard stocks, and which tools you already own.
What you need
- Hand saw and mitre box, or any saw you already own
- Cordless drill/driver
- Sanding block and assorted sandpaper
- Wood glue and a couple of clamps
- Square and a sharp pencil
- Safety glasses, hearing protection, dust mask
Materials
- Offcuts of known, untreated timber
- Plywood scraps
- Wood glue
- Finish suited to the job
Missing something? Check prices on Amazon
Sections7
What this page is
A shortlist of small builds that work with imperfect wood. Every project here fits in a short offcut, forgives a cut that is a degree off, and finishes in an hour or two. They sit with the beginner projects as the low-stakes route in: the wood is already paid for, so a mistake costs nothing but time.
Short pieces are also easier to work with. A four-foot board that has cupped is a problem; the same board cut into six-inch pieces is six flat pieces. That is why scrap builds suit beginners rather than being a consolation prize.
Before you cut anything you did not buy
This is the part that actually matters, and it comes first.
Never cut, sand or burn wood of unknown origin. You cannot tell by looking whether a board has been chemically treated, and the dust from cutting or sanding it goes into the air you are standing in. Burning treated wood is worse again, and is specifically ruled out by the handling instructions that come with pressure-treated timber.
Three sources need care:
- Pallets. Pallets are stamped, usually on a block or stringer, with markings indicating how the pallet was treated. Read the stamp. If it is missing, unreadable, or you cannot tell what the pallet carried, leave it. Pallets also hide nails and staples that will destroy a blade and can throw a fragment.
- Old painted wood. Paint from older buildings may contain lead. Do not sand, saw or burn painted wood when you do not know its age. Check the guidance for your country before handling it at all.
- Pressure-treated offcuts. These carry their own handling instructions covering cutting, sanding, dust, gloves and disposal. Follow them, and keep treated stock out of anything handled constantly or used near food.
When in doubt, buy a new board. A single length of pine costs less than a coffee and removes every one of these questions. What the common beginner timbers actually are is covered in choosing wood as a beginner.
Whatever the source, wear eye protection whenever you cut, drill, drive or sand, hearing protection for power tools, and a fine-particle dust mask for sanding. Clamp small pieces rather than pinching an offcut near a moving blade or bit, because small parts are exactly where hands get hurt. Guards stay on, and the battery comes out before you change a bit or clear a jam. The full list is on woodworking safety for beginners, and safety glasses, ear defenders and a dust mask is worth having before the first cut.
Stop and ask for help if you find a stamp you cannot interpret, a board that smells of chemicals or solvent, painted wood in a house built before you know when, or anything that came out of a demolition. Ask at a timber yard or a hardware counter. Do not test it with a saw.
Offcut size to project
| Offcut you have | What it can become | The skill it exercises |
|---|---|---|
| Under 6 in (150 mm) of 1x4 | Coasters, sanding block, candle base | Square crosscuts and patient sanding |
| 6-10 in (150-250 mm) of 1x4 or 1x6 | Phone stand, doorstop | One repeatable angled cut |
| 10-16 in (250-400 mm) of 1x4 | Key rack, tray sides | Drilling to a consistent depth |
| 12-18 in (300-450 mm) of 1x6 | Tray base, plant riser top | Gluing something flat and square |
| Thin strips under 2 in (50 mm) wide | Riser feet, tray sides, shims | Clamping small parts without crushing them |
| Plywood under 12 in (300 mm) square | Tray base, riser top | Handling edges that show their layers |
Nominal names are not actual sizes: a 1x4 is about 19 x 89 mm once planed, and stock names differ by country. Measure what you have rather than trusting the label.
The eight builds
1. Coasters
Needs: four square offcuts, any hardwood or clean pine, at least 3/8 in (10 mm) thick. Skill: square crosscuts, and sanding through the grits properly. Honest constraint: bare wood and wet glasses do not mix. Coasters need a finish that tolerates moisture and rings, and they need cork or felt on the base or they will scratch the table they are protecting.
2. Phone stand
Needs: one piece around 6-8 in (150-200 mm) of 1x4 or thicker. Skill: measuring, marking and one clean angled cut. Honest constraint: the angle has to suit your phone and your desk height, so make a cardboard mock-up first. Full instructions are in the phone stand build.
3. Small tray
Needs: a base of 1x6 or plywood, plus four thin strips for the sides. Skill: gluing and clamping something square without over-tightening. Honest constraint: the corners show every gap, and a tray that is out of square rocks. Dry-fit before glue, and wood glue plus two clamps does more for the result than any joint you could cut.
4. Doorstop
Needs: a block of 2x4 or a stack of glued 1x4, around 6 in (150 mm) long. Skill: cutting a long, shallow taper and checking it against a straight edge. Honest constraint: it only works if the wedge is shallow enough to slide under the door and grippy enough to stay. Add a strip of rubber or cork to the underside; on a hard floor, a bare wooden wedge slides.
5. Plant riser
Needs: a top of 1x6 or plywood, plus four short feet. Skill: getting four legs the same length, which is the same repeat-cut discipline used in the planter box build. Honest constraint: any wobble is immediately obvious. Cut all four feet against one stop, and remember a riser holding a watered pot will meet moisture, so keep it away from a finish that traps water.
6. Key rack
Needs: one strip of 1x4 around 10-14 in (250-350 mm). Skill: drilling evenly spaced holes to a consistent depth for pegs or hooks. Honest constraint: it has to go on a wall, and that means the same wall-fixing questions as the floating shelf build - check for cables and pipes before drilling, and use fixings rated by their maker for your wall type. A key rack is light, but the wall does not know that until you drill it.
7. Candle holder
Needs: a solid block, 4-6 in (100-150 mm), thick enough to take a recess. Skill: drilling a flat-bottomed recess to a controlled depth with a stop on the bit. Honest constraint: this is an open flame on a wooden object. Use a candle that sits in its own metal or glass cup, set that cup into the recess rather than putting a naked flame against bare wood, keep the holder clear of anything that can catch, follow the candle maker's instructions, and never leave a burning candle unattended.
8. Sanding block
Needs: any offcut that fits your hand, roughly 4 x 3 in (100 x 75 mm). Skill: flattening one face and easing the edges so it is comfortable to hold. Honest constraint: it needs a bit of give. Glue a thin layer of cork or dense foam to the working face, or the block will telegraph every grain line into your workpiece. Wrapping paper around it works, and a sanding block and assorted sandpaper costs little if you would rather skip the build and get on with sanding.
Where beginners go wrong
- Treating scrap as free of standards. Cutting carelessly because the wood was free is how people learn sloppy habits on cheap wood and then repeat them on expensive wood. The same marking discipline applies, and it is covered in measuring and marking.
- Hoarding. One bin of offcuts is a project source; three bins is storage you will never work through. Keep what fits the table above and get rid of the rest.
- Not clamping small parts. Short pieces are the ones people hold, which is precisely backwards - the smaller the piece, the more it needs a clamp and the less room your hand has.
- Mixing species in one glue-up without thinking. Different woods move and sand at different rates, and in a tray or a board that shows up as an uneven surface later.
- Skipping pilot holes near an end. Every screw close to the end of a short offcut wants to split it. Drilling and driving covers sizing the hole so the screw pulls the joint tight instead of cracking it.
Finishing small things
Small pieces are the best place to practise finishing: the whole surface is reachable and a mistake costs one offcut. Sand up through the grits without skipping - 80 or 100 if the stock is rough, then 120, then 180 - and ease every edge.
Match the finish to the job. Anything that touches food or drink needs a finish sold for that use, applied as its label states. Anything that meets water needs to shed it. Anything handled daily wants a finish that repairs easily, which is why wipe-on oils suit small items.
Read and follow the label on every glue, finish and solvent, including its storage and disposal instructions. Rags soaked in oil finishes can self-heat: spread them flat outdoors to dry or dispose of them exactly as the maker says, and never leave them balled up in a bin. If you are running power tools indoors, the beginner power tool page covers dust, and sanding and finishing goes through the grit sequence in detail.
If you would rather follow a sequence than pick at random, the free First 5 Projects Roadmap sets out five builds in order, each adding a single skill.
What to build next
Pick the one you will actually use. For most people that is the phone stand - one offcut, one angled cut, and something that sits on your desk where you will see it every day.
Common questions
Is it safe to use pallet wood?
Only when you know what the pallet is. Pallets may have been heat treated or chemically treated, and the treatment is usually stamped on the block or stringer. They also carry hidden nails and staples that will wreck a blade or throw a fragment. If the stamp is missing, unreadable, or you cannot tell what the pallet carried, do not cut, sand or burn it. For a project this small, a new board costs very little and removes the question entirely.
What about old painted wood?
Treat unknown old paint as a hazard. Paint used in older buildings may contain lead, and cutting or sanding it releases dust you do not want in a garage or a home. Do not sand, saw or burn painted wood of unknown age. If a painted piece matters to you, look up the guidance for your country on handling old paint before touching it, and if you are unsure, use a different board instead.
Can I use pressure-treated offcuts for these?
Pressure-treated timber comes with its own handling instructions that cover cutting, sanding, dust, gloves and disposal, and it must not be burned. Follow those instructions if you use it at all. It is a poor choice for small indoor items, for anything handled constantly like coasters or a phone stand, and for anything that touches food. Keep the treated offcuts for outdoor jobs and use untreated stock for everything on this page.
How do I flatten scrap that has cupped or twisted?
Mostly you do not. A small warped offcut can be cut into shorter pieces, and short pieces are far flatter than long ones, which is why small builds tolerate poor stock. Cut across the bow, use the flattest face as your reference, and glue up narrow strips rather than fighting one wide cupped board. If a piece rocks on the bench after that, it becomes a coaster, not a tray base.
Which of these should I build first?
Coasters, if you want to practise square cuts and sanding with nothing at stake. The phone stand, if you want something you will actually use every day and are ready for one angled cut. Both are small enough that a failure costs an offcut. Build two of whichever you choose: the second one is always noticeably better, and that gap is the fastest feedback in woodworking.
Get the free First 5 Projects Roadmap
Five projects in the order that builds confidence, the tool list split into own / borrow / rent / buy later, and a cut-list worksheet you can print and take to the timber rack.