How to Build a Planter Box (Beginner Guide)
As an Amazon Associate, this website earns from qualifying purchases.
Build a simple slatted planter box from 1x6 boards. Learn repeat cuts with a stop block, pilot holes, real drainage, and how to choose outdoor timber.
- Time
- An afternoon, plus finishing time
- Materials cost
- Under $30 of pine; more in cedar
- Level
- beginner
- Skill it teaches
- Repeat cuts and driving screws into pilot holes
Time and cost are bands, not quotes. What you actually pay depends on your timber prices, what your yard stocks, and which tools you already own.
What you need
- Tape measure and a square
- Hand saw and mitre box, or a circular saw with a guide
- Cordless drill/driver
- Pilot bits and a countersink
- Two clamps
- Safety glasses, hearing protection, dust mask
Materials
- 1x6 boards (nominal; about 19 x 140 mm actual)
- 2x2 for corner posts (nominal; about 38 x 38 mm actual)
- 1x4 or 1x2 offcuts for the bottom and cleats
- Exterior-rated screws
- Optional: landscape fabric liner
Missing something? Check prices on Amazon
Sections14
- What you're making
- What it costs and how long
- Cut list
- Before you start
- Step 1: Make one piece the master
- Step 2: Set up a stop block or a story stick
- Step 3: Cut the rest
- Step 4: Drill pilot holes
- Step 5: Build two sides, then join them
- Step 6: Cleats, bottom and drainage
- Where beginners go wrong
- Finishing it
- Make it yours
- What to build next
What you're making
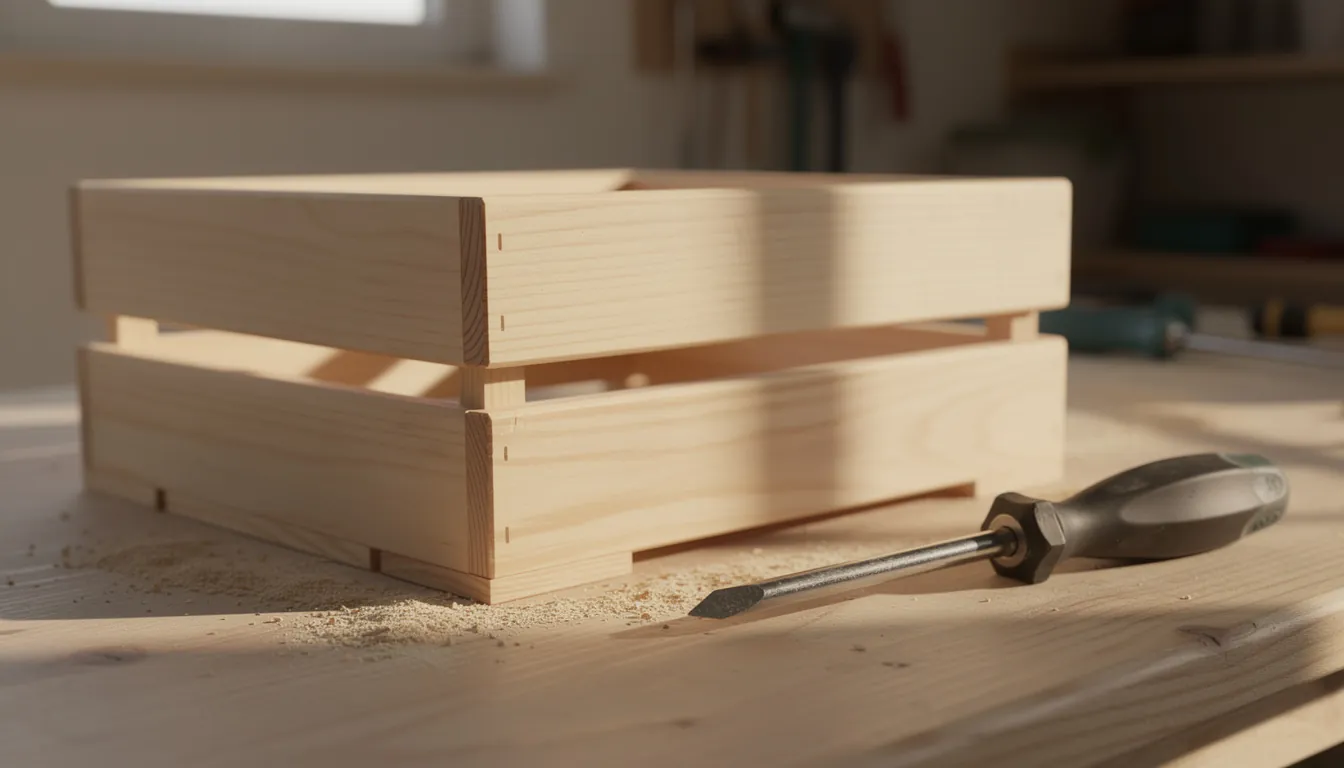
A four-sided box for herbs, salad leaves or flowers, made from straight boards screwed to four corner posts. It is the fourth build in the beginner project progression, and the first one where the same cut has to come out right eight times in a row.
There is no clever joint here. If your pieces match and your screws sit in pilot holes, the box will look square and stay square. If they do not match, every mismatch lands at a corner where you can see it, which is exactly why this is a good build to learn on.
What it costs and how long
An afternoon for cutting and assembly, plus drying time if you finish it. A first attempt runs longer than you expect, and the extra time goes into marking, not sawing.
Cost depends on the species you pick and what timber costs where you live. Construction-grade pine is usually the cheapest and easiest to cut; cedar and redwood cost more and resist rot better. How the common beginner timbers differ is set out in choosing wood as a beginner. Buy boards for one box only until you have built one, because you will change the dimensions the second time.
Cut list
Nominal lumber names are not actual sizes. A "1x6" is about 19 x 140 mm once dried and planed, and a "2x2" is closer to 38 x 38 mm. Names and stock sizes differ by country, so measure the board in your hand before you commit to a cut.
| Part | Qty | Size | Notes |
|---|---|---|---|
| Long side slats | 4 | 1x6 at 24 in (610 mm) | All four must match each other, not the tape |
| Short side slats | 4 | 1x6 at 10 in (254 mm) | Same rule |
| Corner posts | 4 | 2x2 at 11 in (280 mm) | Cut slightly long, trim flush at the end |
| Bottom cleats | 2 | 1x2, cut to the inside length | Cut last, to fit the box you actually built |
| Bottom slats | 4-5 | 1x4, cut to the inside width | Leave a finger-width gap between them |
Cut the sides and posts first, assemble the box, then measure the real inside dimensions and cut the bottom parts to fit. That order removes the arithmetic that trips most people up.
Before you start
Work on a bench, a workmate or a solid table with room on one side. Clamp every board before you cut it; never hold a board with one hand and saw with the other. Wear eye protection any time you cut, drill, drive or sand, hearing protection for any power tool, and a fine-particle dust mask before sanding. Guards stay on, never defeat a safety switch, and take the battery out before changing a bit or clearing a jam. Keep gloves and loose sleeves away from a spinning bit. All of this supplements your own tool's manual, and that manual wins. The fuller checklist is on woodworking safety for beginners, and safety glasses, ear defenders and a dust mask is the cheapest part of the build.
Stop and ask for help if you are holding a board and cannot tell what it is. Reclaimed timber may be pressure-treated, coated with something old, or full of hidden fasteners, and pressure-treated timber has to be handled the way its own instructions say. Do not cut, sand or burn a board of unknown origin to find out what it is - buy a new one, since at this size the difference is a few dollars. The same applies to a planter destined for a balcony rail or anywhere it could fall onto someone below: that is a fixing question, not a woodworking one, and worth asking someone qualified about first.
A drill/driver does the whole assembly here, so if you are buying one tool for this project, make it that one. A cordless drill/driver kit with a second battery will outlast every project on this site, and the beginner power tool path explains what it actually needs to do before you spend more.
Step 1: Make one piece the master
Measure and cut a single long side. Check the cut with a square, and check that the piece is actually the length you wanted. That one board is now your pattern, and the tape measure goes back in the drawer.
Step 2: Set up a stop block or a story stick
This is the skill the project exists to teach. Clamp a scrap block to your mitre box or saw guide so the board can only slide in that far; every cut then lands in the same place without you reading a number again. With no jig, lay the master piece on the next board, mark against its end with a knife or sharp pencil, and cut to that mark. The habits behind it are in measuring and marking for beginners, and a combination square and tape measure is the pair worth owning first.
What "right" looks like: stack the four long slats face to face and stand them on end. The tops should form one flat surface with no step you can feel with a fingernail.
Step 3: Cut the rest
Cut all four long slats, all four short slats and the four posts against the same stop. Keep the offcuts - they are useful for test screws now, and for the small builds that use up offcuts later.
Step 4: Drill pilot holes
Every screw going near the end of a board needs a pilot hole, and one going into end grain needs it badly. A pilot hole roughly matches the screw's inner shank, not its threads. Test on an offcut of the same board first: the screw should pull the two pieces together and stop, with no crack running along the grain. Countersink so the head finishes flush. Bit sizing is covered in drilling and driving.
Step 5: Build two sides, then join them
Lay two long slats against two posts, edges aligned, with the slats overhanging each post equally. Clamp, then drive two screws through each slat into each post. Repeat for the other long side, and you have two ladder-like panels.
Stand those panels up and screw the short slats across the ends into the same posts. Check for square by measuring corner to corner both ways. The two diagonals should match. Nudge the box until they do, then drive the last screws.
Step 6: Cleats, bottom and drainage
Screw the two cleats to the inside faces of the long sides, near the bottom and level with each other. Rest the bottom slats on them with roughly a finger-width gap between each one, then screw them down.
Drill drainage holes through each bottom slat as well, because gaps alone can clog with compacted soil and roots. A solid, sealed bottom is the fastest way to destroy a wooden planter: the timber stays saturated from both sides and rot starts where you cannot see it.
If you use a liner, use landscape fabric or a punctured plastic sheet, staple it around the inside, and cut a slit over every drainage hole. A liner keeps soil off the timber; it does not replace drainage, and a liner with no holes turns the box into a bucket.
Where beginners go wrong
- Measuring eight times instead of once. Eight measurements produce eight small errors, and every one shows at a corner. One master piece and a stop block produce one error at worst.
- Skipping pilot holes. A screw driven straight into the end of a dry pine board will split it, usually on the last quarter turn, usually on the piece you cut best.
- Indoor screws outdoors. Plain steel rusts and bleeds dark streaks down the wood once weather gets at it. Use screws sold for exterior or deck use.
- Standing the box flat on wet ground. Soil or a puddled patio wicks water straight into the end grain of the posts. Leave the posts long as feet, or stand the box on two strips of scrap.
- Sealing the inside to "protect" it. A film finish inside traps water against the wood. Leave it bare so it can dry between waterings.
Finishing it
Sand the outside faces and every edge you will handle. Start around 80 or 100 grit if the boards are rough, then 120, then 150, and take the sharp corners off with a few strokes. Eased edges hold a finish better and stop the box handing out splinters.
Three honest options: leave it bare and let it weather to grey, which is where most cedar planters end up anyway; use an exterior oil or stain, which has to be reapplied on a schedule set by your sun and rain rather than by any number anyone can quote you; or paint the outside only. Whatever you pick, read and follow the label on the can, including its storage and disposal instructions and its warning that rags soaked in an oil finish can self-heat. Spread those rags flat outdoors to dry, or dispose of them exactly as the maker states, and never leave them balled up in a bin. Do not finish the inside, and do not use an interior finish outdoors just because it is what you have.
The free First 5 Projects Roadmap lays out this build and the four around it in order, with the tool list for each, if you would rather work a progression than pick projects at random.
Make it yours
- Go deeper for root vegetables with a third row of slats and longer posts. Soil depth matters more than footprint for most edibles.
- Make it a trough - long and shallow - for a windowsill or a step, somewhere it cannot fall rather than on a rail.
- Leave gaps between the side slats for a lighter look. Less timber, faster drying, less soil held.
What to build next
Once repeat cuts and pilot holes feel routine, the next skill is drilling accurately into something you cannot take back to the bench. Move on to making a floating shelf, where the wall is part of the project.
Common questions
What wood should I use for an outdoor planter box?
Untreated pine is the cheapest and the easiest to cut, but it is not rot resistant, so a pine box in contact with wet soil will break down. Cedar and redwood resist rot better and cost more. How long any of them lasts depends on your climate, how wet the box stays, whether it sits directly on the ground, and whether you use a liner and real drainage. Pick the species your budget allows, then do the drainage properly.
Can I use pressure-treated wood for a planter?
Pressure-treated timber is sold with its own handling instructions and you must follow them. They cover cutting, sanding, dust, gloves and disposal, and they rule out burning the offcuts. It is also a poor choice for anything growing edible plants. If you want a planter for food, use untreated cedar, redwood or pine and line it, rather than trying to work out whether a particular treated board is suitable.
Do I still need drainage holes if I use a liner?
Yes. A liner keeps soil off the timber, but it does not remove water. With no way out, water collects at the bottom, roots sit in it, and the wood stays wet on both faces. Drill drainage holes through the bottom slats and cut a matching slit in the liner over each one. Gaps between the bottom slats do the same job and are easier to get right than a sealed pan with holes.
How do I cut eight pieces to exactly the same length?
Do not measure eight times. Measure once, cut one piece, check it, then use that piece as the pattern for the rest. With a mitre box, clamp a scrap block behind the cut so every board stops in the same place. With a hand saw and no jig, lay the first piece on the next board and mark against its end. One reference gives you one error at worst instead of eight different ones.
Can I build this with only a hand saw and a drill?
Yes, and plenty of people do. A hand saw in a mitre box gives a square enough crosscut for this build, and a drill/driver handles the pilot holes and the screws. It is slower by hand and your arm will know it, but the result is the same. What decides whether the box looks right is whether the repeat cuts match and whether the box is square when you drive the last screws.
Get the free First 5 Projects Roadmap
Five projects in the order that builds confidence, the tool list split into own / borrow / rent / buy later, and a cut-list worksheet you can print and take to the timber rack.