How to Measure and Mark Wood Accurately
As an Amazon Associate, this website earns from qualifying purchases.
The skill that decides whether your parts fit: reading a tape properly, marking a line you can cut to, and working from a reference edge instead of guessing.
- Level
- first project
Sections9
Why this is the skill to learn first
Most beginner projects fail before a single cut is made. The parts do not fit because the marks were wrong, and no amount of careful sawing rescues a line in the wrong place. Measuring and marking is the highest-leverage habit in the woodworking basics: it costs nothing, needs no new tools, and it is the difference between a box that closes and a box that rocks.
You need three things: a tape measure, a combination square, and something sharp to mark with. That is it. If you are still assembling a kit, the essential hand tools list covers what to look for in each. Eye protection goes on before any cutting starts, not at the marking stage, but get in the habit of having it on the bench beside you.
Read the tape properly
Look at the hook on the end of your tape. It moves. That small amount of play is deliberate, and it equals the thickness of the hook, so the tape reads the same whether you hook it over an edge or push it against one. If the hook is bent, kinked or loose on its rivets, every measurement you take is off by an amount you cannot see.
Burn an inch. Rather than trusting the hook, line the end of the board up with the 1 in mark, or the 100 mm mark, take your reading, and add that amount back. A part you want at 8 in is marked at 9 in on the tape. This removes the hook entirely, which matters on the cuts that have to be exact.
The catch is obvious and it will happen to you at least once: you forget to add the inch back and cut the part short. Say the two numbers out loud as you mark, or pencil the offset on the board. Do it for a whole project or not at all. Switching halfway is worse than not doing it.
Read the tape square-on as well. Looking at the scale from an angle shifts the mark by a hair, and on a 3 mm pencil-wide reading that hair is the whole game.
Mark a line worth cutting to
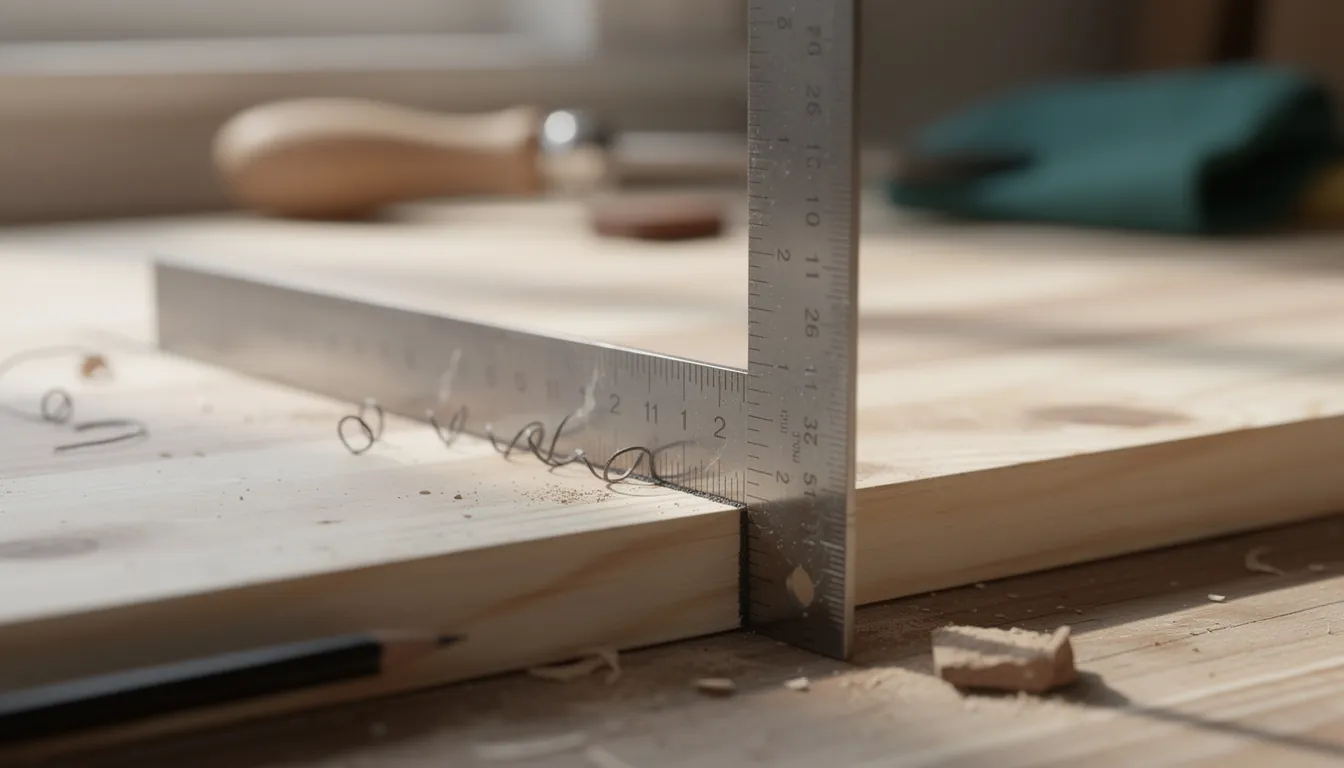
Hold the combination square head hard against the edge of the board, so hard that it cannot rock, then mark. This one habit fixes more crooked cuts than any tool upgrade. If the head lifts even slightly off the edge, the line is not square to it, and the cut inherits the error.
A pencil line is about a millimetre wide, which means it is not one line but a band. Decide now which side of that band you are cutting to and never change your mind mid-project.
A marking knife is the upgrade. It severs the wood fibres instead of colouring them, so the line has no width to split, and the little groove gives your saw somewhere to start instead of skating. Use a pencil for general layout and a knife where the joint has to close, like the corners of a simple box. A square and a tape are the pair to buy together, because in practice you use them in the same movement.
Cut on the waste side
The saw removes wood. That gap it cuts, the kerf, is roughly a millimetre or two wide depending on the blade, and it has to come out of somewhere.
Mark your line, then shade the waste side with your pencil. Cut so the blade runs beside the line, on the shaded side, leaving the line itself still visible on the finished part. Cut down the middle of the line and your part is short by half a kerf. Do that on both ends of four parts and the box is noticeably smaller than the plan.
Shading the waste also stops the other classic error, which is cutting off the wrong side entirely and turning your part into your offcut.
Measure from one reference face and edge
Pick one face and one edge of each board as your reference. Mark them with a pencil squiggle. Every measurement for that part comes off those two surfaces, and your square always sits against them.
Timber is rarely perfectly flat or parallel. If you measure from whichever edge is nearest, you are quietly using two slightly different origins and the errors land on top of each other. One reference face and one reference edge keeps every error pointing in the same direction, where it usually disappears into the sanding.
Stop measuring the same thing twice
The more times you use a tape, the more chances you have to be wrong. So stop using it.
Use a story stick. Take a scrap of wood, transfer the length you need onto it with a knife or pencil mark, and use that stick to mark every part after that. No numbers, no reading, no arithmetic. This is how you get four legs the same length rather than four legs within a millimetre of each other.
Use a stop block. Clamp an offcut to your mitre box or bench at the right distance from the blade, push each piece up against it, and cut. Every part is identical because nothing was measured after the first one. Repeat cuts on the planter box go from fiddly to quick with one clamped block.
Mark from the part, not the plan. When a shelf has to fit between two sides, hold it against the actual gap and mark it there. The plan says what it should be. The wood says what it is.
Check for square with the diagonals
The best squareness check does not use a square. Measure corner to corner one way, then corner to corner the other. Equal diagonals mean the assembly is square. Unequal means it is a parallelogram, however good each corner looks.
Do this while the glue is still wet, when you can push gently on the long diagonal and bring it into line, then re-measure and re-clamp. Five minutes later it is a permanent feature of the piece.
Nominal sizes are not actual sizes
A board called 1x4 has never been one inch by four inches. That is the rough size before drying and dressing. What you take home measures closer to 19 x 89 mm, and the exact number varies between suppliers, species and countries. Sheet goods sold as 18 mm can come in under it as well.
So: never cut a part to a size taken from a board's name. Measure the board in your hands, then cut. Plans that call for a rebate to fit "18 mm ply" mean the ply in front of you, not the label. The materials section on the tools guide explains what to ask for at the timber rack and why the numbers move.
Where to go next
Accurate marks are only useful if the hole goes where the mark is, which is the subject of drilling and driving. Before you switch anything on, read the safety basics for beginners so eye protection and clamping are habits and not afterthoughts. If you want the practice built into real builds, the free First 5 Projects Roadmap puts these habits to work on the phone stand first, where one clean crosscut is the whole project.
Common questions
Why do my cuts never line up even when I measure carefully?
Usually because each part was measured from a different starting point. Errors of half a millimetre are invisible on their own and obvious once four of them stack up in one box. Mark every part from the same reference edge, or use one cut part as the pattern for the next, and the errors stop accumulating.
What does burning an inch mean?
Instead of measuring from the hook at the end of the tape, you line the work up with the 1 inch or 100 mm mark and add that amount to your reading. It removes a bent or worn hook from the equation. The risk is forgetting to add it back, so say the number out loud as you mark, or write it on the board.
Pencil or marking knife?
A sharp pencil is fine for rough cuts and for parts you will sand to fit. A marking knife is better where the joint has to close, because it cuts a shallow groove your saw can drop into and it leaves a line with no width to split. Many people use a pencil for layout and a knife only on the cuts that show.
How do I check something is square without a big square?
Measure the two diagonals of the assembled frame or box. If they are equal, it is square. If they are not, push gently on the longer diagonal before the glue sets and measure again. Two equal diagonals are a better check than any square you own, because they test the whole assembly rather than one corner.
Is a 1x4 board really one inch by four inches?
No. Those are nominal names from the rough size before the board was dried and dressed. A 1x4 typically finishes near 19 x 89 mm, though the exact figure varies by supplier and country, and stock names differ from place to place. Always measure the board you actually bought before you cut a part to fit it.
Get the free First 5 Projects Roadmap
Five projects in the order that builds confidence, the tool list split into own / borrow / rent / buy later, and a cut-list worksheet you can print and take to the timber rack.