What Wood Should a Beginner Use?
Why beginners start with pine, what nominal board sizes really measure, how to pick a straight board at the rack, and where plywood, MDF and glue fit in.
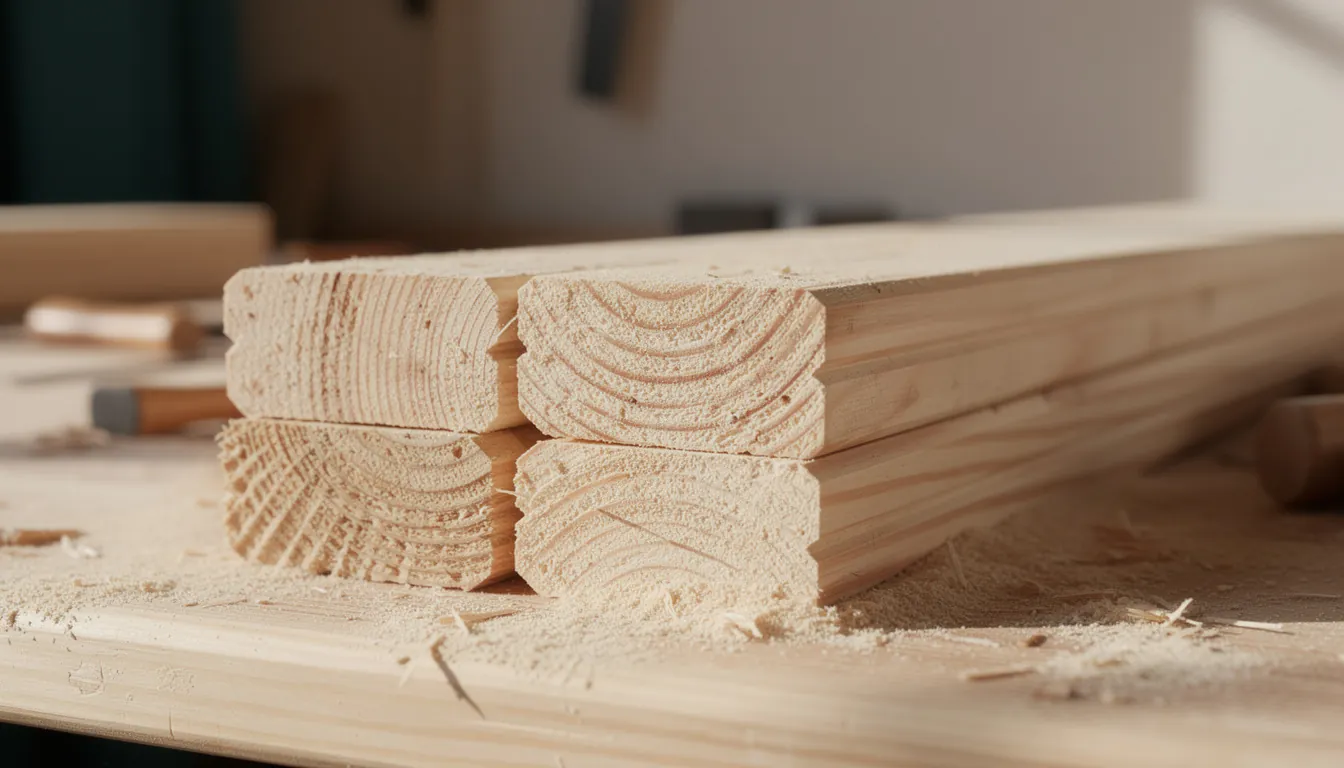
Start with pine, and stop thinking about it
Almost every first project should be built from softwood — pine, spruce or fir, sold as common boards or whitewood at any home centre or timber yard. It is cheap enough that a ruined board is annoying rather than painful, soft enough to cut and drill with hand tools, stocked in sizes that are consistent from one visit to the next, and forgiving when a joint needs a little persuasion.
Hardwoods — oak, maple, walnut, ash — are denser, harder to cut by hand, considerably more expensive, and much less forgiving of a cut that wanders. They are worth it later, on the project where the wood itself is the point. Until then, spend your attention on your cuts rather than on your timber. The rest of the woodworking basics hub covers the skills those cuts depend on.
Softwood, hardwood, and what the words actually mean
The names are botanical, not a hardness rating. Softwood comes from conifers, hardwood from broadleaf trees, and there are soft hardwoods and hard softwoods. At the rack, the distinction that matters is that the softwood pile is cheaper, lighter, easier to work and full of knots, while the hardwood pile is denser, heavier, more expensive and cleaner.
One thing to know about pine: knots. A tight knot flush with the surface is fine and often looks good. A loose one that moves when you press it, or a knot ringed with a dark gap, will fall out or split, so cut it off or pick a different board.
Nominal size is not the real size
This catches everyone once. Lumber is named for its rough sawn dimensions, before it was dried and planed. What you carry home is smaller, on all four faces. Plans normally quote the actual size, so measure the board in front of you rather than trusting the label.
| Nominal name | Actual size (approximate) | Metric (approximate) |
|---|---|---|
| 1x2 | 3/4 x 1 1/2 in | 19 x 38 mm |
| 1x3 | 3/4 x 2 1/2 in | 19 x 64 mm |
| 1x4 | 3/4 x 3 1/2 in | 19 x 89 mm |
| 1x6 | 3/4 x 5 1/2 in | 19 x 140 mm |
| 1x8 | 3/4 x 7 1/4 in | 19 x 184 mm |
| 1x10 | 3/4 x 9 1/4 in | 19 x 235 mm |
| 1x12 | 3/4 x 11 1/4 in | 19 x 286 mm |
| 2x4 | 1 1/2 x 3 1/2 in | 38 x 89 mm |
Two honest caveats. These are the common dressed sizes in the North American market, and they are approximate — the same nominal board can vary slightly between suppliers and with moisture content. And board names, stock sizes and the way timber is sold differ from country to country: elsewhere you may be buying by finished metric dimensions, or seeing planed stock described as PAR or DAR, which is likewise smaller than the sawn size it is named for. Whatever the system, put a tape on the board.
Lengths are usually the exception: a board sold at 8 feet or 2.4 metres is generally at least that long, sometimes with a little to spare, because the ends get damaged in handling.
Picking a good board at the rack
Boards are stacked by size, not by quality, so the difference between an easy project and a frustrating one is often decided in the two minutes you spend choosing. Do not take the top one.
Sight down the edge. Hold one end at eye level and look along the length. You are looking for bow (a curve along the face), crook (a curve along the edge), twist (the two ends sitting in different planes), and cup (a hollow across the width). Twist is the worst of the four, because a twisted board will not sit flat on the bench and nothing you build from it will sit flat either. Put it back.
Check the knots. Tight and flush is fine. Loose, ringed with a gap, or right where a screw or joint has to go, put it back.
Check the ends for splits. End checks run further into the board than they look, and you lose that length. If the board is otherwise good, buy it long enough to cut the split off.
Look at the faces. Deep gouges, torn grain and forklift damage all have to be sanded out, and on 19 mm stock there is not much to lose.
Feel the weight. A board noticeably heavier and cooler than its neighbours may be wetter, and it will move as it dries.
Plywood and MDF
Plywood is thin veneers glued in alternating directions, which makes it strong for its weight and much less prone to moving with the seasons than solid wood. It is the right choice for a box back, a cabinet base or a wide shelf where a solid panel would be expensive. Buy a better grade for anything that shows, because cheap sheathing plywood has voids in the core that appear as holes in the cut edge. Plywood edges always look like plywood, so cover them with a thin strip of solid wood or design so they do not show. Cut it with a sharp fine-tooth blade and support the sheet both sides of the cut, or the underside splinters.
MDF is wood fibre and resin pressed into a board. It is very flat, has no grain to fight, cuts cleanly, and takes paint better than almost anything else, which makes it good for painted panels and jigs. Against that: it is heavy, it swells and stays swollen if it gets wet, it holds screws poorly — especially into the edge, where it splits unless you drill a pilot hole — and it is not a structural material. Cutting and sanding MDF also produces a great deal of extremely fine dust, so it needs a fine-particle mask, dust extraction or outdoor working, and ventilation. That is not optional; see the safety guidance for beginners before you cut a sheet.
Wood moves, and it will move after you build
Wood takes up and gives off moisture with the air around it, and it changes size as it does — mostly across the width of a board, very little along its length. That never stops. It is why a wide panel is designed to move and a well-made drawer is a little loose in summer.
Two practical consequences for a beginner. First, let boards sit in the room where the finished piece will live for a few days before you build, especially a wide glued-up panel like a cutting board; if you build straight from a cold, damp shop, the panel will move afterwards and the joints will show it. Second, do not make a lid or a drawer a perfect push fit in a dry spell, because a humid month will seize it. Leave a small, deliberate gap.
Glue and fasteners
This page may contain affiliate links — if you buy through one, we may earn a commission at no extra cost to you. As an Amazon Associate, this website earns from qualifying purchases.
For gluing wood to wood, a standard PVA wood glue — often sold as yellow carpenter's glue — is the beginner default and does nearly everything indoors. Water-resistant and exterior-rated versions exist for outdoor work; check that the bottle you are buying is actually rated for it rather than assuming, and follow that label for open time, clamping time and minimum temperature, since those differ between products. Good practice with any of them: a thin, even coat on both faces, clamp until the joint is closed and a small bead squeezes out, and wipe the squeeze-out with a damp cloth before it sets, because dried glue blocks stain and finish. If you need a bottle, wood glue is one of the cheapest things in the shop.
For fasteners, wood screws hold better than nails in almost everything a beginner builds, and they can be undone. Drill a pilot hole — always in hardwood, near the end of any board, and into the edge of plywood or MDF — or the wood splits. Outdoors, use screws rated for exterior use, and stainless or coated fasteners with treated timber, since ordinary steel corrodes quickly in contact with it. Nails and brads are for holding something while glue dries, not for carrying a load.
What not to use
Pressure-treated timber indoors, or anywhere near food. It is preserved for outdoor structural use, it comes with handling instructions from the supplier covering cutting, dust, gloves and disposal, and those should be followed. Never use it for a cutting board or a chopping surface, and never burn the offcuts.
Unknown reclaimed wood. Old pallets, skip finds and stripped-out furniture may hide nails, screws and staples that will destroy a blade and throw fragments, and you cannot know what the wood was treated or painted with. Painted timber of unknown age is a particular concern, because older paint can contain lead and sanding it makes hazardous dust.
Wet or green timber for a first project. It will move, split and warp as it dries, and it takes your work with it.
What to learn next
Materials chosen, the next thing that decides how your project turns out is accuracy: measuring and marking is where most beginner errors are actually born. The free First 5 Projects Roadmap includes a cut-list worksheet you can print and take to the timber rack with you.
Common questions
What is the best wood for a beginner woodworker?
Pine, or another softwood sold as common boards, for almost everything at first. It is inexpensive, stocked in consistent sizes, soft enough to cut and drill with hand tools, and forgiving when you make a mistake. Save hardwood for a project where the wood itself is the point, once your cuts are landing where you intended them to.
Why is a 1x4 not actually 1 inch by 4 inches?
Because the nominal name refers to the rough size before the board was dried and planed smooth. What you buy has already lost material on all four faces, so a 1x4 measures about 3/4 by 3 1/2 inches, roughly 19 x 89 mm. Work from the board in front of you, not from the name on the label, and check it with a tape.
Is plywood or MDF better for a beginner project?
They do different jobs. Plywood is strong, holds a screw reasonably in the face, and is good for box backs, shelves and bases, though the edges need covering to look finished. MDF is flat, cheap and takes paint beautifully, but it is heavy, hates moisture, holds screws poorly at the edges, and makes a great deal of very fine dust when cut or sanded.
Which wood glue should I buy?
A standard PVA wood glue, often sold as yellow carpenter's glue, covers nearly everything a beginner builds indoors. Versions rated for exterior or water-resistant use exist for outdoor projects. Follow the label on the bottle you actually bought for open time, clamping time and temperature, rather than assuming they are all the same.
Can I use reclaimed or pressure-treated wood?
Not for early projects. Reclaimed timber can hide nails and screws that will damage a blade, and you cannot know what it was treated with. Pressure-treated timber is intended for outdoor structural use, comes with its own handling instructions from the supplier, and should not be used indoors or anywhere near food.
Get the free First 5 Projects Roadmap
Five projects in the order that builds confidence, the tool list split into own / borrow / rent / buy later, and a cut-list worksheet you can print and take to the timber rack.